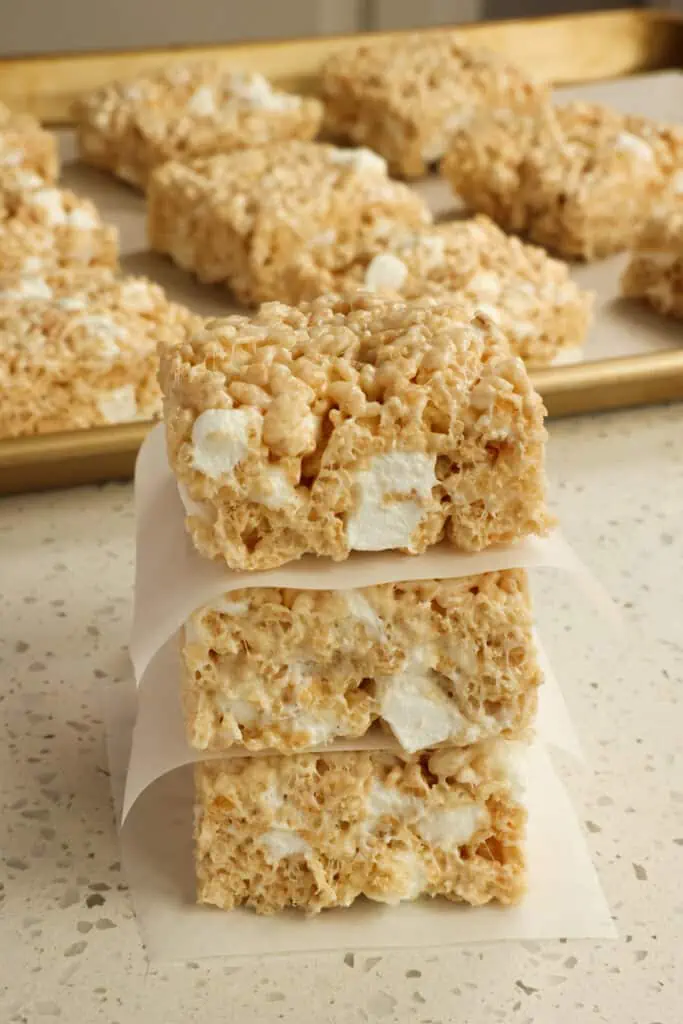
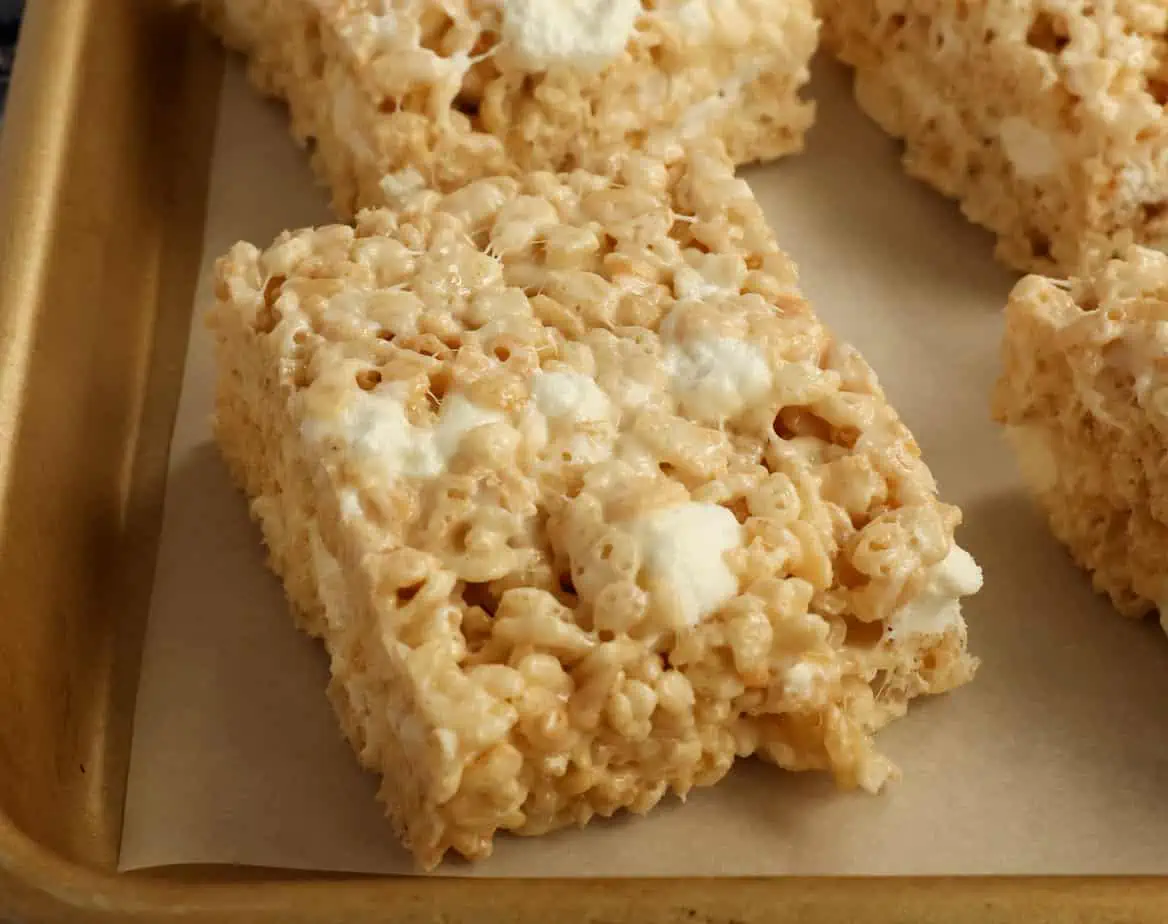
These are the best homemade Rice Krispie Treats with little bits of melted marshmallow and the perfect ratio of crispy rice cereal, butter, and marshmallow. They take just minutes to prepare, and they set up in about one hour. Both kids and adults love these delectable easy treats.
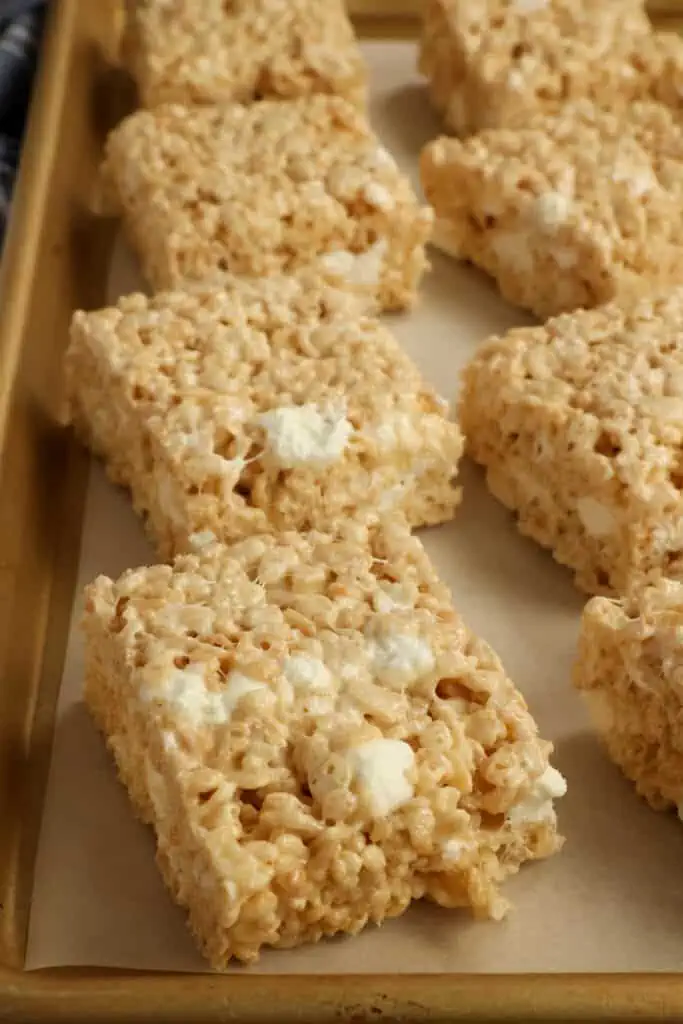
How to make Rice Krispie Treats
Prepare the pan by lining it with aluminum foil and buttering the aluminum foil. Then brown your butter in a large light-colored, or white-bottomed Dutch oven or large pot with a white bottom. See more below about browning butter. Once browned, immediately remove from the heat and add the marshmallows stirring to melt. Return the pot to low heat and keep stirring with a wooden spoon or silicone spatula.
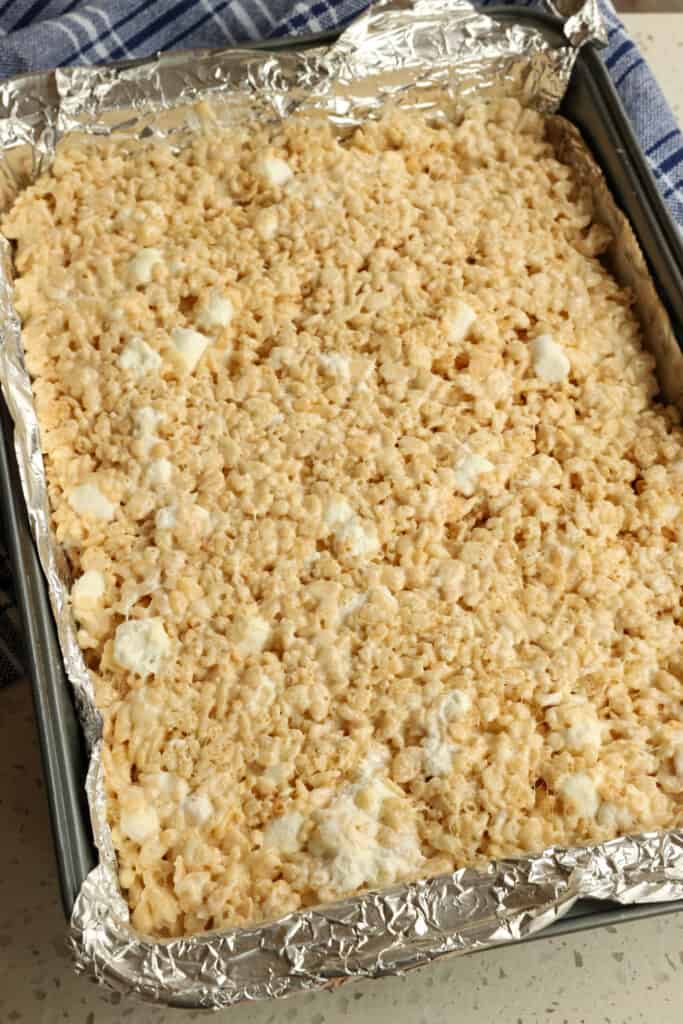
Once the marshmallows are melted, sprinkle them with the salt and add the vanilla extract. Stir to combine, and add the Rice Krispie cereal as you are stirring. Before the mixture starts to cool, add the reserved cups of mini marshmallows and let them melt just a touch. Gently press the mixture into an even layer in the prepared pan using a buttered spatula or the butter wrapper. Let them set for about one hour before cutting them into bars.
Recipe Notes
- This recipe moves very quickly, so have everything measured and close to the stovetop. Make sure your pan is lined with aluminum foil, buttered, and ready to fill.e
- Use a light-colored pot so you can see the changes in the butter as you brown it.
- Once the butter is browned, remove it from the heat and add the marshmallows. Then you can return it to low heat. This keeps the butter from burning as you catch up with stirring the marshmallows.
- It is important to stir quickly and thoroughly to combine the crispy rice cereal with the marshmallows, as they will start to set quickly.
- I like to work with two wooden spoons. One large one for mixing large amounts fast and another smaller one for reaching the bottom edges of the pot.
- Use a buttered spatula or the discarded butter wrapper to gently press the mixture into the prepared pan.
- Store the treats in an airtight container at room temperature for up to 4 days. Or in the refrigerator for up to a week.
- For a change of taste from the original rice krispie treats, add a little peanut butter, chocolate chips, or m&m’s.
- Or freeze individually wrapped treats in wax paper or plastic wrap and place them in a freezer zipper bag. Freeze for up to 3 months.
How to brown butter
Using a light-colored pan, or for this recipe, a light-colored pot, melt the butter over medium heat. Stir the butter the entire time to keep it from burning. The melted butter will foam up a bit, and then it will ease up. After about 5-8 minutes, the butter will turn golden brown with light brown specks and a nutty aroma. The little brown specks are toasted milk solids. That is where most of the flavor and aroma come from in browned butter. Once the butter is browned, remove it to a heat-resistant bowl or use it in a recipe to keep it from cooking further in the hot pot.
How to cut Rice Krispie Treats into bars
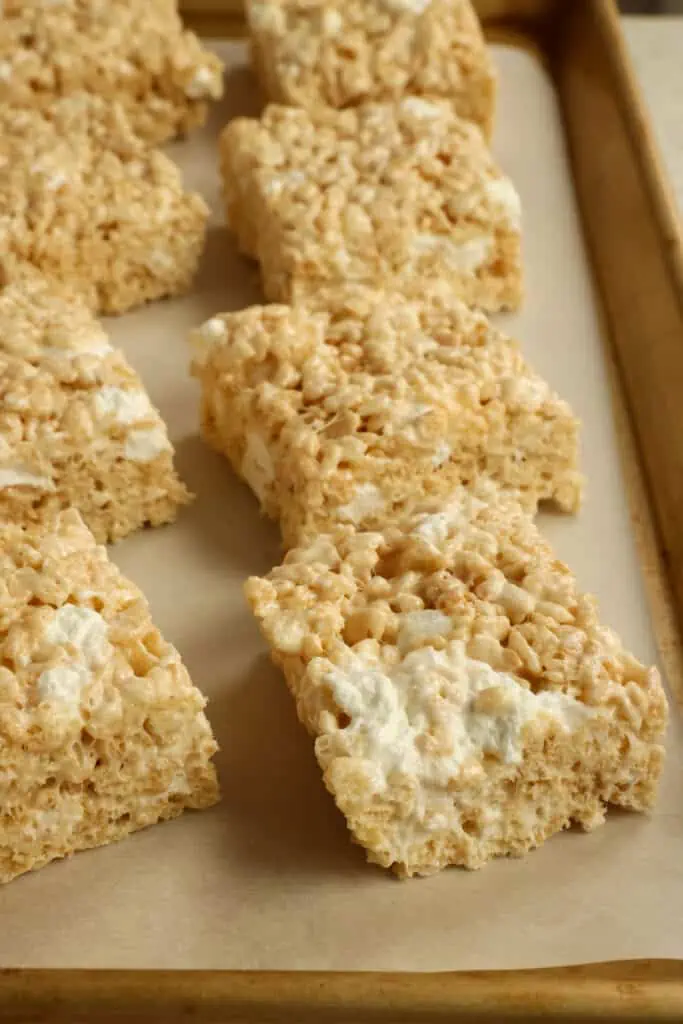
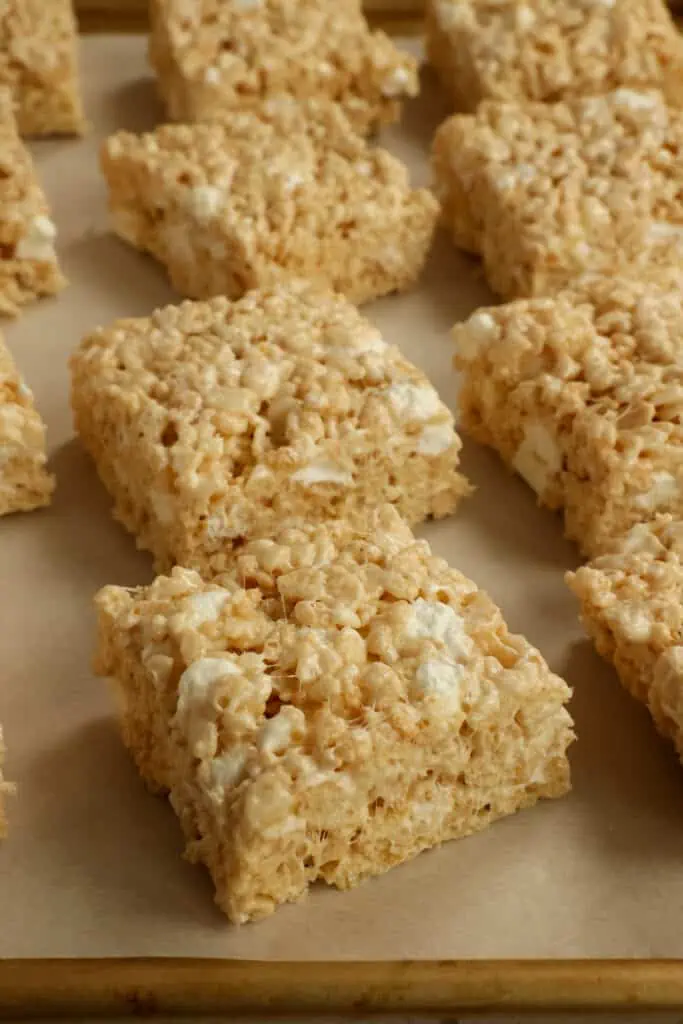
It is important to line the pan with aluminum foil, wax paper, or parchment paper. If using aluminum foil, lightly butter the inside of the foil. Once the treats have set, for about one hour, grab ahold of the foil or paper and lift the bars out. Set them on a wooden cutting board. Peel the foil or paper down on the four sides. Using a ruler as a guide, cut your bars into equal and uniform pieces with a large sharp knife.
You may also like
Best Rice Krispie Treats
Ingredients
- 8 tablespoons unsalted butter
- 20 ounces mini marshmallows 3 cups reserved
- ½ teaspoon kosher salt
- ¾ teaspoon vanilla extract
- 7 cups rice krispie cereal
Instructions
- Line a 9x13-inch baking pan with aluminum foil. For thicker treats like a 9x9-inch pan. Grease the inside of the aluminum foil.
- Using a light-colored pot or large saucepan, melt the butter over medium heat. Stir the butter the entire time to keep it from burning. The butter will foam up a bit, and then it will ease up. After about 5-8 minutes, the butter will turn golden brown with light brown specks and a nutty aroma.
- Once browned, immediately remove from the heat and add the marshmallows stirring to melt. Return the pot to low heat and keep stirring with a wooden spoon or silicone spatula.
- Once the marshmallows are melted, sprinkle them with the salt and add the vanilla extract. Stir to combine, and add the Rice Krispie cereal as you are stirring. Before the mixture starts to cool, add the reserved mini marshmallows and let them melt just a touch.
- Spoon and gently press them into the prepared baking dish using a buttered spatula or the butter wrapper. Let them set for one hour before cutting them into bars.
Notes
- This recipe moves very quickly, so have everything measured and close to the stovetop. Make sure your pan is lined with aluminum foil, buttered, and ready to fill.e
- Use a light-colored pot so you can see the changes in the butter as you brown it.
- Once the butter is browned, remove it from the heat and add the marshmallows. Then you can return it to low heat. This keeps the butter from burning as you catch up with stirring the marshmallows.
- It is important to stir quickly and thoroughly to combine the crispy rice cereal with the marshmallows, as they will start to set quickly.
- I like to work with two wooden spoons. One large one for mixing large amounts fast and another smaller one for reaching the bottom edges of the pot.
- Use a buttered spatula or the discarded butter wrapper to gently press the mixture into the prepared pan.
- Store the treats in an airtight container on the counter for up to 4 days. Or in the refrigerator for up to a week.
- Or freeze individually wrapped treats in wax paper or plastic wrap and place them in a freezer zipper bag. Freeze for up to 3 months.
Nutrition
On the hunt for more delicious recipes? Follow Small Town Woman on Facebook, Pinterest, and Instagram.
https://www.smalltownwoman.com/wp-content/uploads/2019/05/Beth-1.pdf





Martha
Absolutely delicious! The browned butter adds a delicious richer taste to this simple dessert treat. When I was making them, my husband declared he never liked Rice Krispie treats. Well he certainly does now!
Beth Pierce
That is fabulous, Martha! I am so glad that he likes them!
Yeah Lifestyle
This is super easy to make, and the perfect snack for kids, as mine are always hungry after school or when we head out for walks.
Alita Pacio
This classic, delicious snack has been making memories for kids and parents alike for generations. Thank you for teaching us how to make it at home.
Beth Pierce
The pleasure is all mine, Alita!
Jupiter Hadley
Oh wow, what a classic! I love adding in all sorts of mix-ins to add some color and flavor to this.
Tammy
A childhood classic that never goes out of style! I still love these…perfect summertime treat too since you don’t have to turn on the oven.
Samantha Donnelly
I have not made these in years, I have my granddaauhters staying over Easter who love baking with me so will be making these with them
Beth Pierce
Sounds like a plan! Have fun!
Sandra
My kids really loved it!! I will definitely make this again and again!
Beth Pierce
Thanks, Sandra! So glad that the kiddos loved them!
Catalina
Yum! My new favorite treat! My family moved them! Thanks for sharing the recipe.
Beti
My kids love, LOVE these!! They are the perfect sweet treat!
katerina
My all-time favorite treat! This recipe is the best.
Allyson Reed Zea
These are so amazing and I loved them!