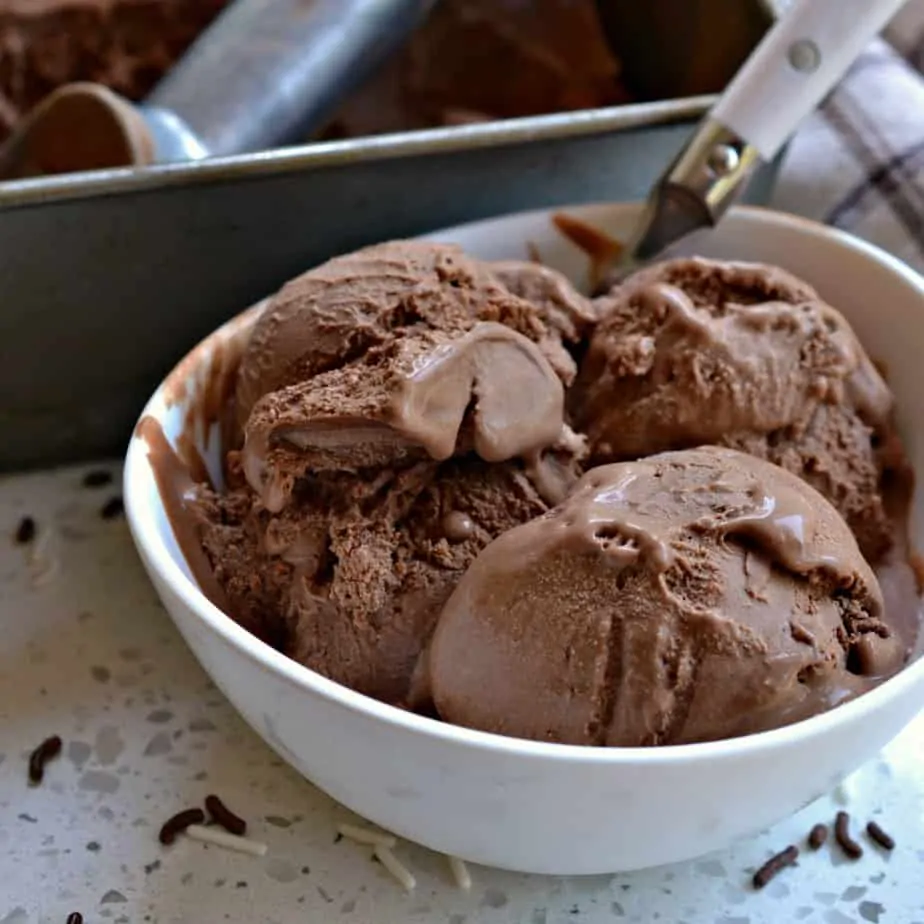
This lusciously rich Chocolate Ice Cream is made with a handful of ingredients in two easy steps and finished in an ice cream maker for a smooth, creamy texture. So much tastier than store-bought, with only natural ingredients for a rich chocolaty taste. My family and friends love this chocolate treat. Stir in some semi-sweet chocolate chips or crushed thin mint cookies for an even more indulgent treat.
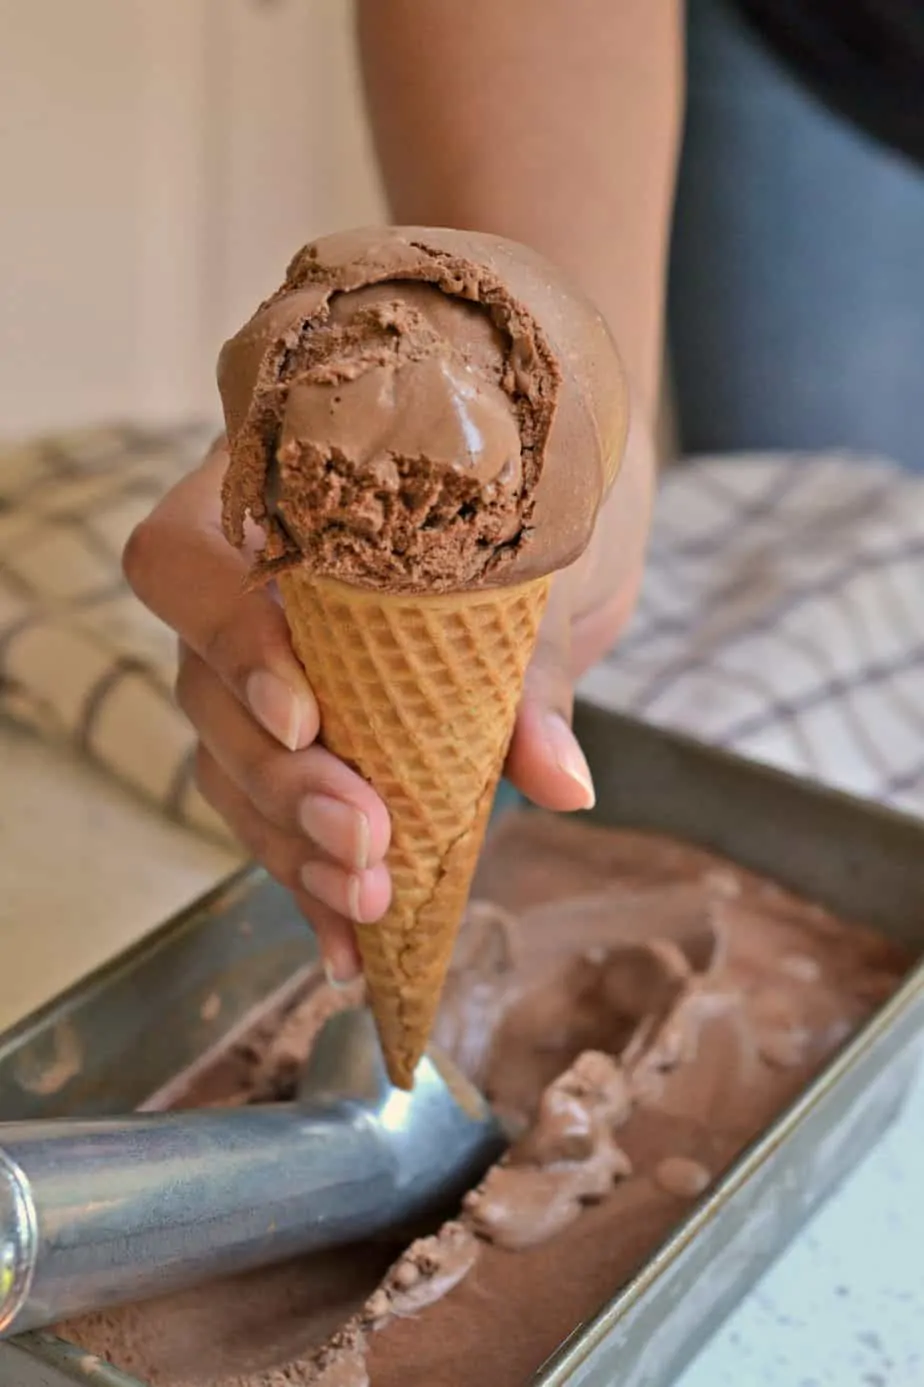
Summer is here, and it is time to enjoy some of the best that summer has to offer, like ice cream. Do you like chocolate? My husband and daughter love chocolate. This Chocolate Ice Cream, Chocolate Dipped Frozen Bananas, Rich Chocolate Pie, and Double Chocolate Chip Muffins are just a few of their favorites. This summer treat comes together pretty quickly using my helpful tips, so be sure to read them.
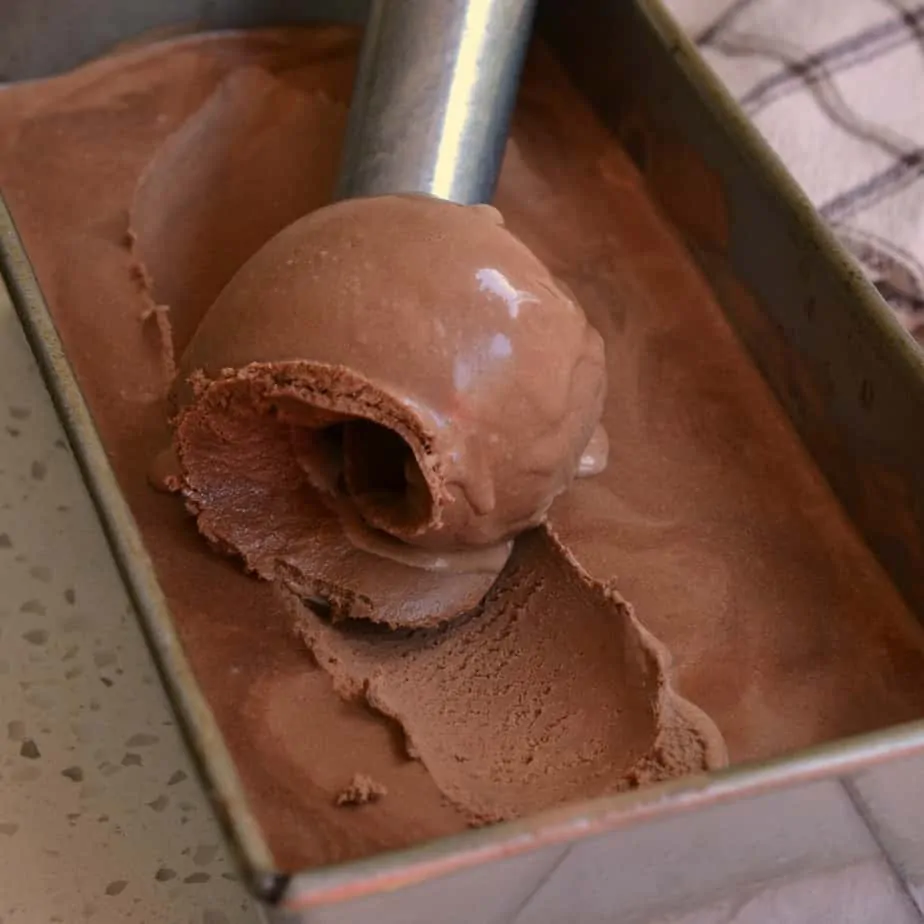
How to make Chocolate Ice Cream
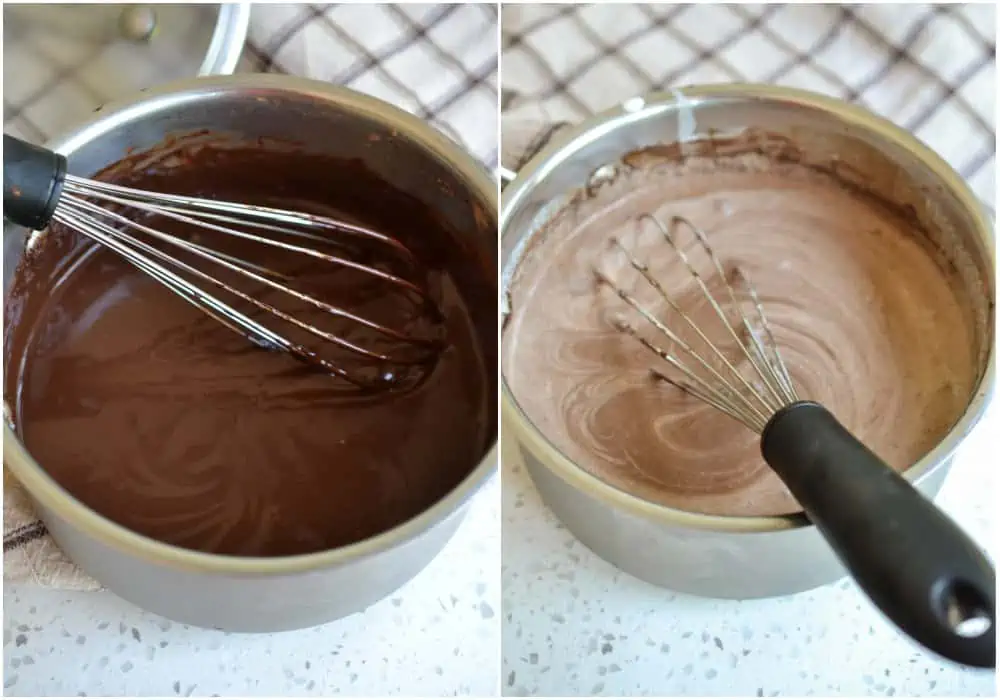
Start by combing sugar, brown sugar, milk, and cocoa powder in a saucepan over medium heat. Whisk frequently and scrap the bottom of the pan while bringing it to a simmer. Next, whisk together the egg yolks until they lighten in color. Now add about 3 tablespoons of the hot milk mixture to the egg yolk bowl stirring well to combine and to warm the egg yolks. Repeat this procedure several times until you have added about 2/3 cup of the hot mixture to the egg yolk. Work in small increments and stir between each one. This cooking step is commonly referred to as tempering the egg.
Next, whisk the warmed egg yolks into the chocolate mixture. Now stirring constantly, cook over low until thick enough to coat the back of a spoon. Do not boil. This will take just a few minutes. Then remove from the heat and cool by placing in an ice bath first and then the refrigerator. Likewise, you can also let it cool on the counter to room temperature before placing it in the fridge. Chill the ice cream mixture for several hours.
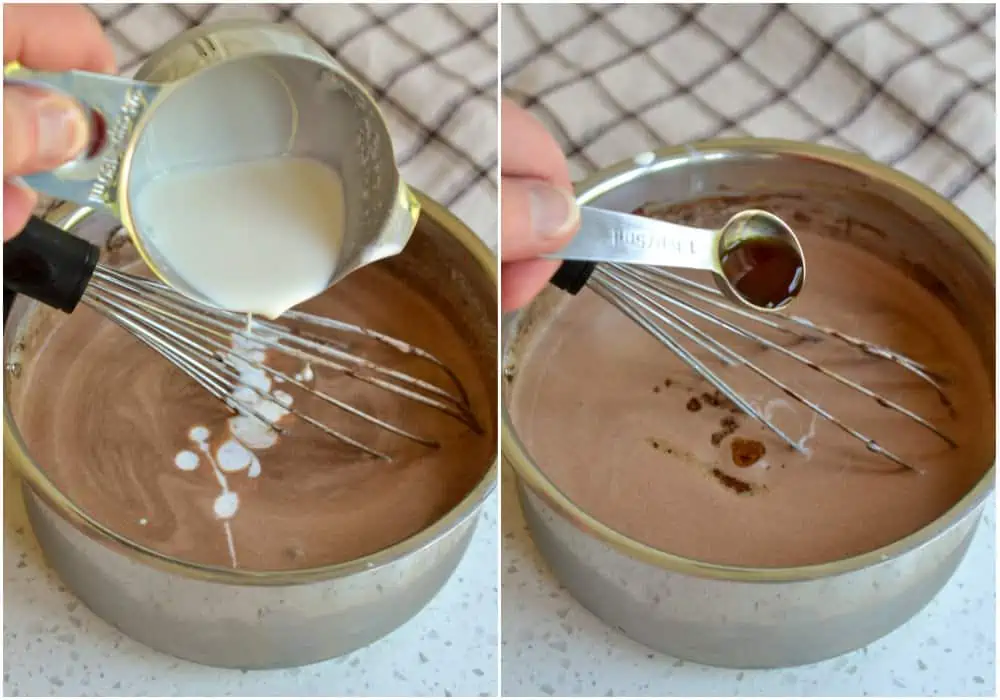
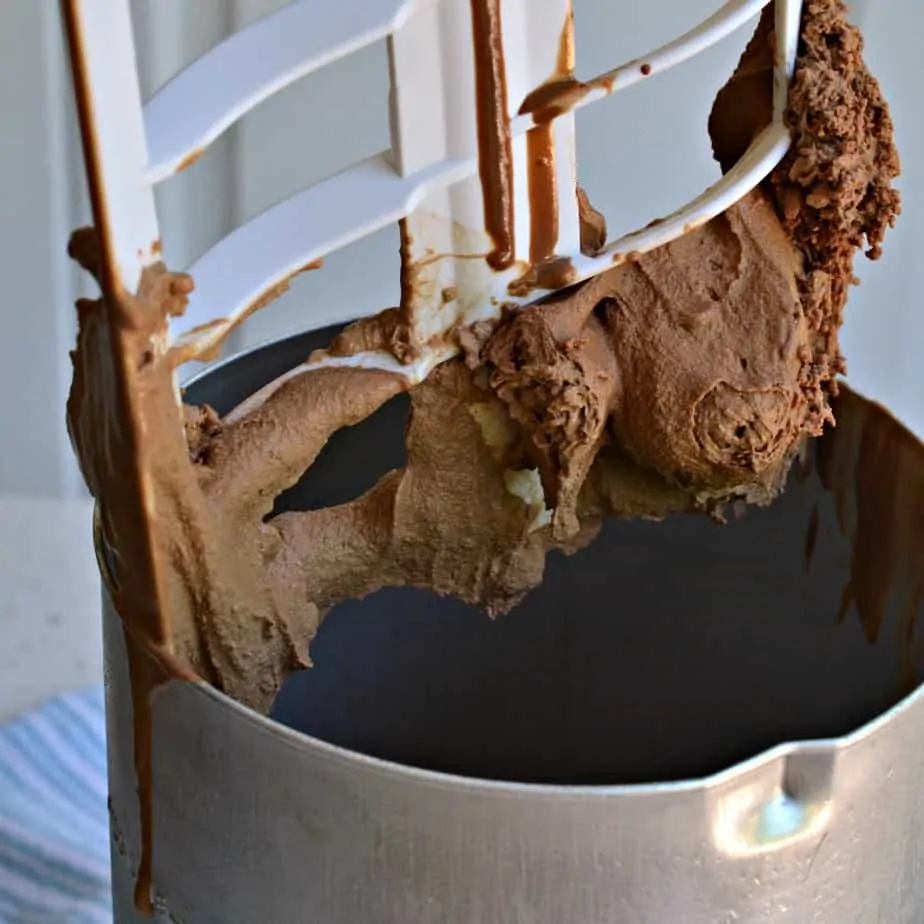
Once chilled, stir in the heavy cream and vanilla. Then pour the Chocolate Ice Cream base into your ice cream maker and follow the manufacturer’s instructions. Check after 25 minutes, as you can over-churn ice cream. The consistency should be like soft serve ice cream. Spoon the ice cream into a freezer-safe container like a bread loaf pan. Cover with plastic wrap or wax paper directly on the surface of the ice cream to prevent ice crystals from forming. Freeze for several hours.
Recipe notes and helpful tips
- Bring the sugar, brown sugar, milk, and cocoa powder just to a simmer, not a hard boil. Whisk constantly so the mixture does not burn to the bottom of the pan.
- For optimal taste, use full-fat dairy.
- Make sure you temper the egg yolks so you do not end up with curdled or scrambled eggs in your ice cream.
- Once the egg yolks are tempered and mixed into the chocolate mixture, cook, whisking constantly without boiling, until it is thickened.
- Use good quality unsweetened cocoa. I like to use Ghirardelli premium baking cocoa as it gives this ice cream its amazing rich chocolate flavor. Baking cocoa is the same as Dutch process cocoa.
- Check the ice cream mixture after 25 minutes of churning, as you can over-churn ice cream.
- Make it an overindulgent treat, and add some chocolate chips, almonds, caramel sauce, chocolate syrup, peanuts, or marshmallows.
- For long-term storage, store the ice cream in an airtight container in the freezer for up to 2 weeks.
How to temper an egg
You really don’t want to add an egg to a hot mixture without tempering it unless, of course, you are after that kind of effect, like in egg drop soup. But with this ice cream or Rice Pudding, we want the egg to fully incorporate into the mixture. In a separate bowl, beat your egg or egg yolks. Now simply add 2-3 tablespoons of the hot liquid to the eggs whisking constantly. Once whisked in, repeat again, thoroughly whisking after each addition. If the bowl is small enough to fit in the palm of your hand, you will probably begin to feel it warm. Once the egg mixture has begun to warm, you can slowly whisk it into the warm pot without worrying that you will end up with a scrambled mess.
More chocolate recipes to try

Chocolate Ice Cream Recipe
Ingredients
- 1/2 cup sugar
- 1/4 cup brown sugar
- 1 cup 2% or whole milk
- 1/2 cup unsweetened cocoa powder
- 4 egg yolks
- 2 cups heavy whipping cream
- 1 teaspoon vanilla extract
Instructions
- In a saucepan over medium heat, whisk together sugar, brown sugar, milk, and cocoa powder. Bring it to a simmer, whisking frequently and scraping the bottom of the pan.
- In a medium bowl, whisk together the egg yolks until they lighten in color. Add 2- 3 tablespoons of the hot cocoa liquid to the egg yolk bowl stirring well to combine. Repeat this procedure several times until you have added about 2/3 cup of the hot mixture to the egg yolks.
- Whisk the warmed egg yolks into the chocolate mixture, stirring constantly. Cook until thickened without boiling. Remove from the heat and cool by placing in an ice bath first and then the refrigerator; chill for 2-3 hours.
- Whisk in heavy cream and vanilla. Then pour into your ice cream maker and follow the manufacturer’s instructions. Check after 25 minutes. The consistency should be like soft serve ice cream. Spoon the ice cream into a freezer-safe container like a bread loaf pan. Cover with plastic wrap or wax paper directly on the surface of the ice cream to prevent ice crystals from forming. Freeze for several hours.
Notes
- Bring the sugar, brown sugar, milk, and cocoa powder just to a simmer, not a hard boil. Whisk constantly so the mixture does not burn to the bottom of the pan.
- For optimal taste, use full-fat dairy.
- Ensure you temper the egg yolks so you do not end up with curdled or scrambled eggs in your ice cream.
- Once the egg yolks are tempered and mixed into the chocolate mixture, cook, whisking constantly without boiling, until it is thickened.
- Use good quality unsweetened cocoa. I like to use Ghirardelli premium baking cocoa as it gives this ice cream its amazing rich chocolate flavor. Baking cocoa is the same as Dutch process cocoa.
- Check the ice cream mixture after 25 minutes of churning, as you can over-churn ice cream.
- Make it an overindulgent treat, and add some chocolate chips, almonds, caramel sauce, chocolate syrup, peanuts, or marshmallows.
- For long-term storage, store the ice cream in an airtight container in the freezer for up to 2 weeks.
Nutrition
On the hunt for more delicious recipes? Follow Small Town Woman on Facebook, Pinterest, and Instagram.
https://www.smalltownwoman.com/wp-content/uploads/2019/05/Beth-1.pdf







Sara Welch
Love homemade ice cream, and this recipe is no exception! So smooth and delicious; easily, a new favorite chocolate recipe!
Cate
This looks so delicious! So creamy and chocolaty, can’t wait to make this tonight!
Tara
Such a decadent ice cream and that texture looks perfect! I bet my kids will love this.
Jamie
The brown sugar is such a great touch in this ice cream! It’s so much better homemade! Perfect for summer.
Heather
So so so good! I had made vanilla icecream but this was the first time making chocolate and it’s delicious! Thank you for all the tips!
Katie
What a perfect treat for a hot summer night! This recipe was loved by all!
wilhelmina
This ice cream is so creamy and delicious! Full of chocolate goodness!
Laura
This is the perfect recipe for summer!! My kids are going to love this!!
Toni
This is amazingly easy! Even my kids can easily make this! Thanks for sharing the recipe!
Lauren Kelly
y boys devoured this! It’s time to make some more
Toni
This is so amazing! Love how quick and easy you can make it!
katerina @ diethood.com
Chocolate ice cream is my favorite! Can’t wait to try this!! YUM!
Jacque Hastert
I am in love with this chocolate ice cream! I love how rich and chocolatey this easy ice cream is to make at home!
Vikki
So simple and tasty, never having store-bought again!
Erin | Dinners,Dishes and Dessert
This Chocolate Ice Cream needs to happen at my house very soon!!
Allyson Zea
I actually cannot believe how easy this is! My kids loved it!