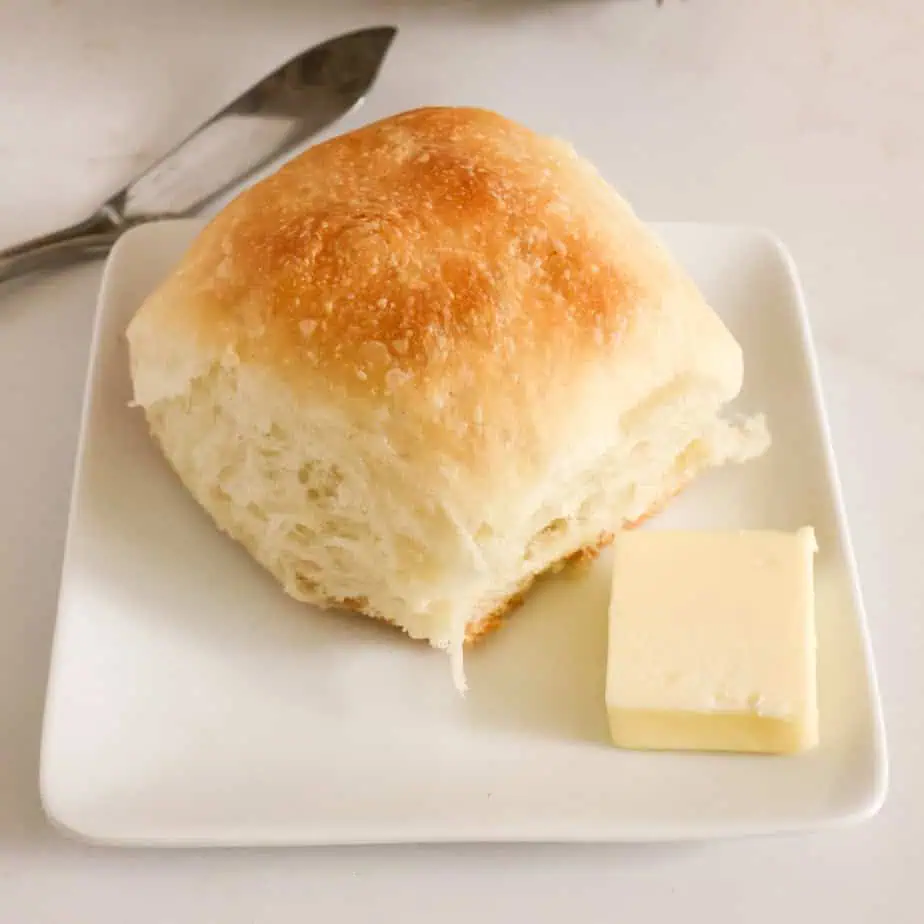
These fluffy and soft dinner rolls are easy to make and will be a hit at any family gathering or holiday dinner. Get the recipe and impress your dinner guests tonight!
Anyone can make these tasty yeast rolls with just a little patience and practice. I love to serve them beef tips and gravy, chicken a la king, and cassoulet.
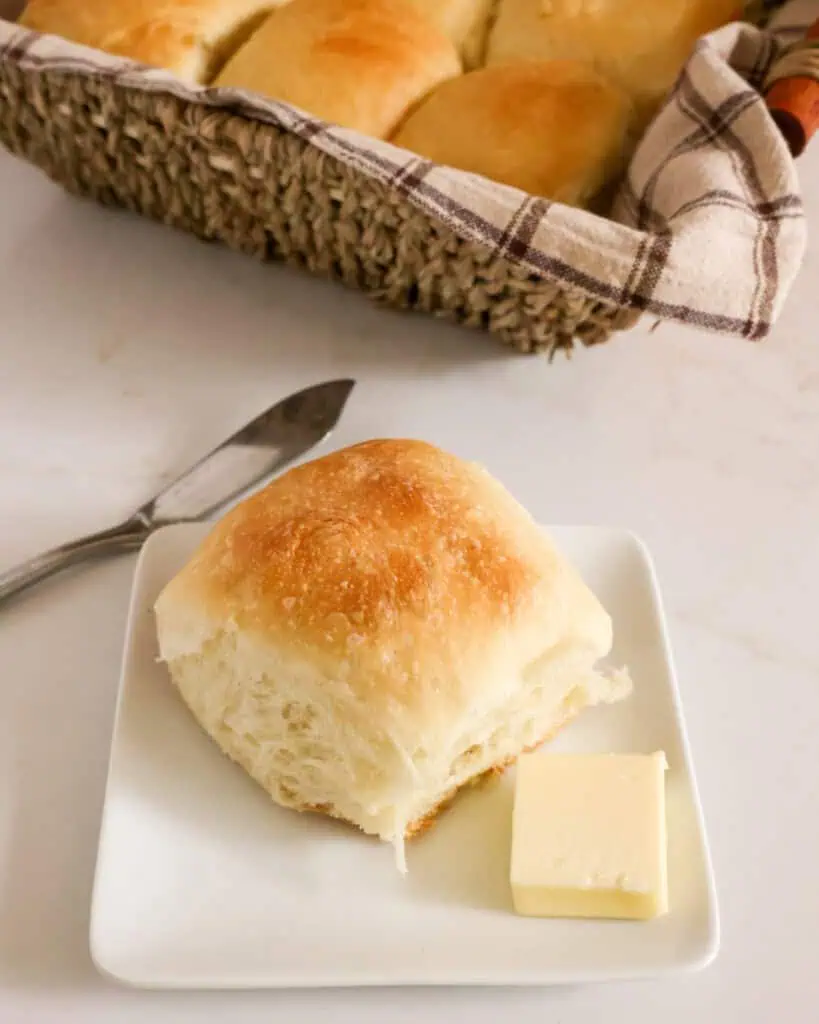
Ingredient Notes and Substitutions
See the complete list of ingredients below on the recipe card.
- Milk: Whole milk is best, but I have made these with 2% milk and had good results.
- Honey: I prefer the sweet taste of honey in my rolls, but you can substitute it with the same amount of sugar.
- Unsalted butter: you can use salted, but reduce the amount of added salt by 1/4 teaspoon
- Flour: Use 2 cups of all-purpose flour and 1 1/2 cups of bread flour. This mix of the two flours makes the rolls lighter and fluffier with a significant rise.
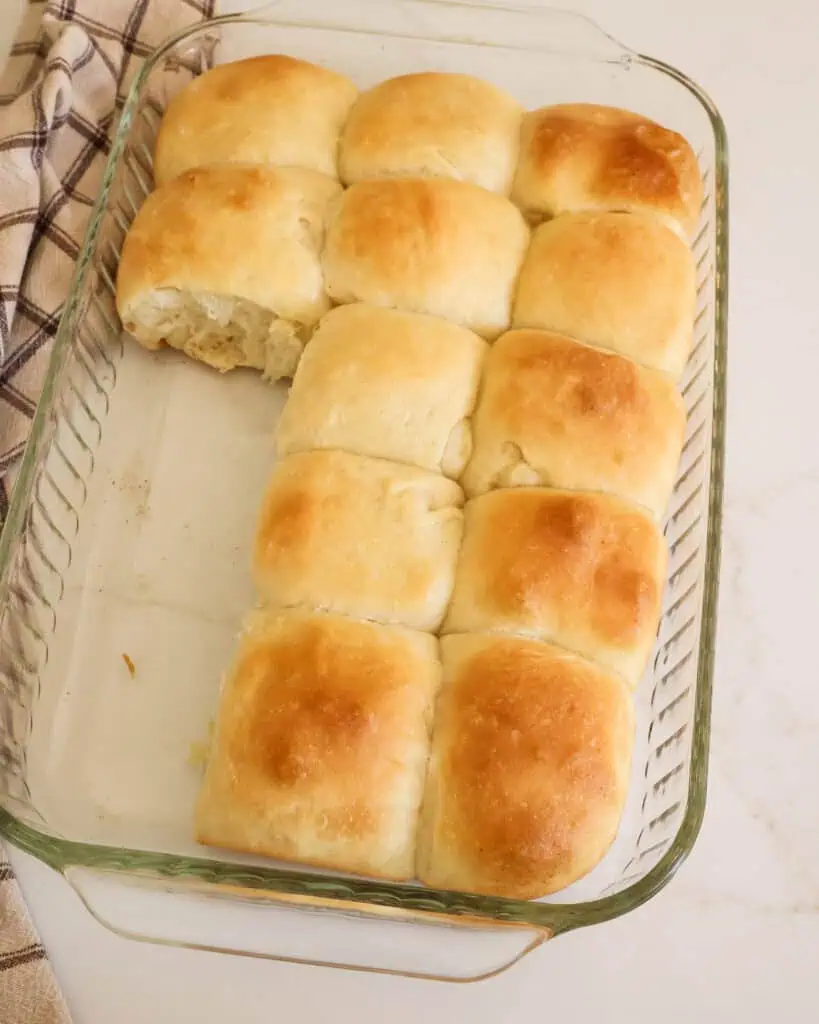
How to Make Dinner Rolls
This is the summary version; see the recipe card below for the complete list of ingredients and the instructions.
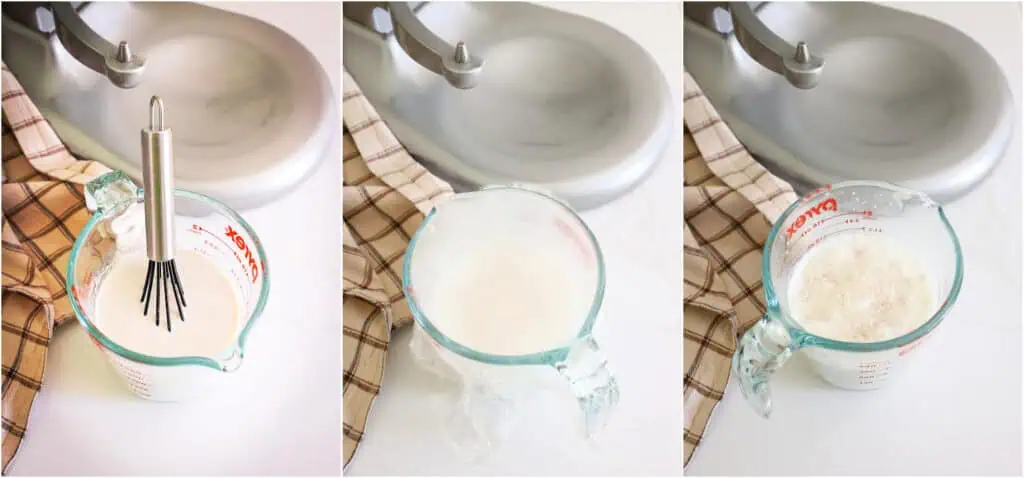
Warm the milk in the microwave until 110 degrees. Use a digital food thermometer to read the temperature as you warm it. Gently whisk the milk, yeast, and a tablespoon of honey. Cover the measuring cup or bowl with plastic wrap and let it be for about 7-10 minutes for the yeast to bloom.
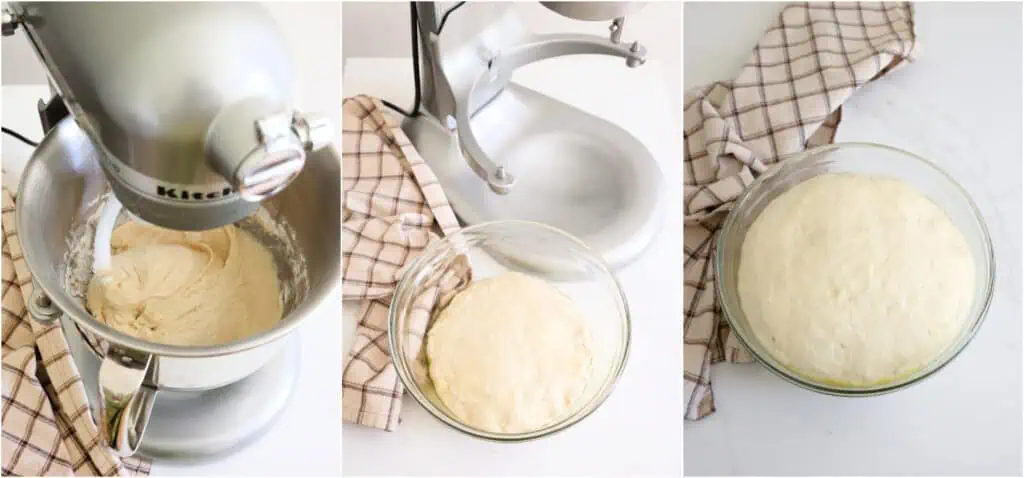
Add the bloomed yeast, rest of the honey, beaten egg, cut butter, salt, and 1 cup of flour to the stand mixer bowl. Attach the dough hook and turn the mixer on low. Beat for about 1 minute. Scrape down the sides of the bowl. Add the remaining flour and beat on medium for about 2 minutes or until the dough starts to pull away from the sides. If the dough is too wet, add a tablespoon of flour at a time.
Let the machine knead the dough for about 5 minutes at speed level 2 or low. Coat a large bowl with olive oil. Transfer the dough to the bowl and turn to coat it with the oil. Cover the bowl with plastic wrap and let the dough rise to double in size. This can take 1-2 hours.
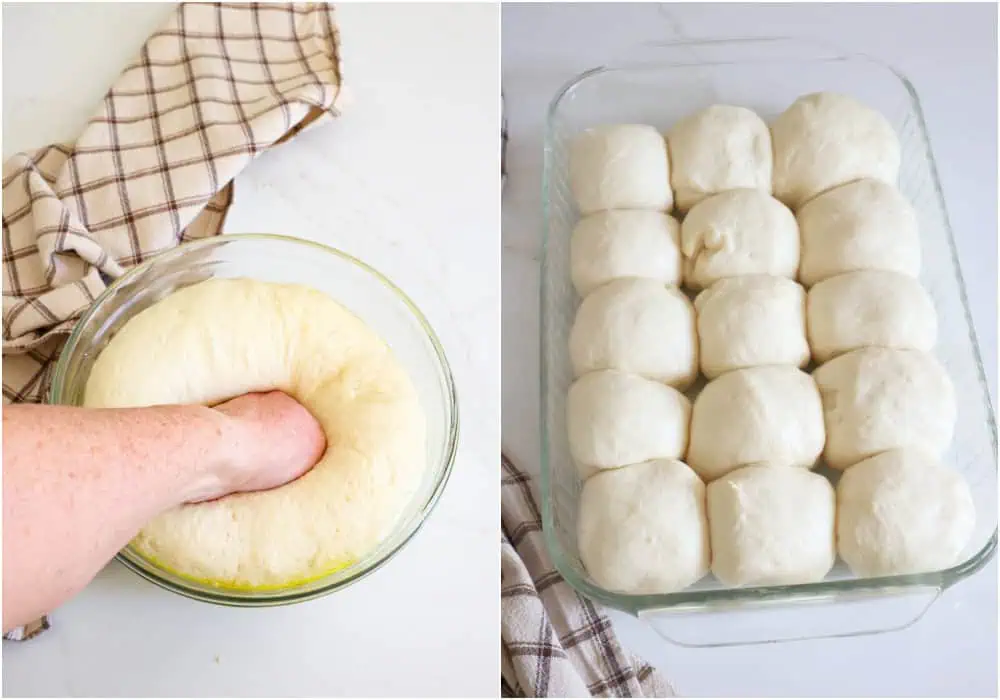
Punch the dough down (see tip below). Transfer the dough to a lightly floured surface and, using a bench scraper or a large sharp knife, cut the dough into 15 sections. Using your hands, pull the edges of the dough up and turn it over seam-side down. Use the floured surface and your hands to gently roll it into a ball.
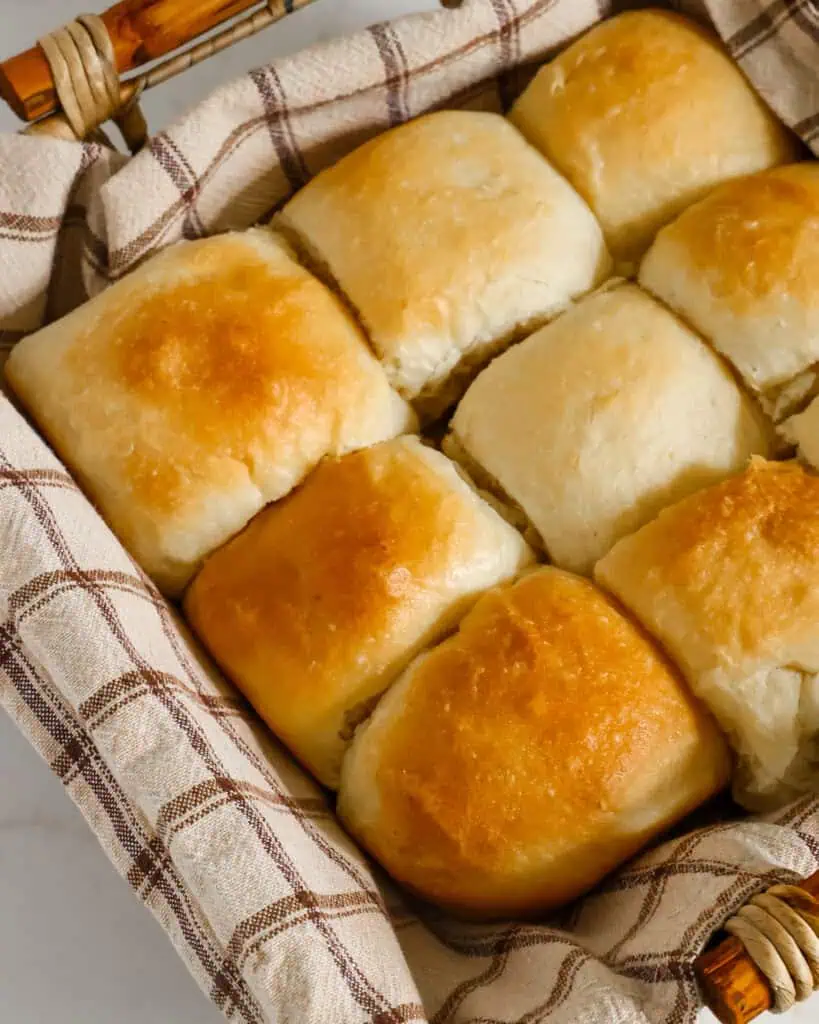
As you roll them, put the rolls in a greased 9×13-inch dish and cover them with plastic wrap. Let rise for about an hour. Brush with butter and bake for 20-25 minutes or until golden brown.
Preparation Tips
- When yeast blooms, it creates a creamy foam as it releases carbon dioxide. You can also smell the yeast. If it does not foam up, the yeast is not good, and you need a fresh packet. Throw the mixture away and start again.
- When mixing the dough, if it is too wet to pull away from the sides of the bowl, add 1 level tablespoon of flour at a time until it starts to pull away.
- Punching the dough down means to deflate the dough gently. It redistributes the yeast, relaxes the gluten, and releases carbon dioxide.
- With some practice, you can learn to portion and roll perfectly shaped dinner rolls.
- Don’t rush the rise of the dough. PPlease putit on the counter out of direct sunlight.
- You can brush rolls with butter before or after baking. Or both if you love butter like me.
Frequently Asked Questions
No, you need to purchase a fresh packet of yeast and try again. Your yeast may have expired or been stored improperly.
Add a tablespoon of flour at a time until the dough starts to pull away from the sides. Too much flour could stunt the rise of the rolls and make them dry and dense, so add slowly and cautiously.
Yes, you can also use only bread flour. I like the results of the mix of the two. I love the structure and rise from the higher protein in the bread flour and the pillowy softness from the all-purpose four.
Use just a small amount of flour for dusting. Adding too much flour can make the dough dense and dry.
Dinner Rolls
Ingredients
- 1 ¼ cups whole milk warmed to 110 degrees
- 2 ¼ teaspoons active dry yeast 1 packet
- 2 tablespoons honey
- 1 large egg beaten
- ¼ cup unsalted butter cut in thin slices and softened
- 1 teaspoon salt
- 2 cups all-purpose flour see notes
- 1 ½ cups bread flour
- 1 teaspoon olive oil
- 1 tablespoon butter, melted
Instructions
- Warm the milk in the microwave until 110 degrees. Use a digital food thermometer to read the temperature after you warm it. Do not put the thermometer in the microwave.
- Gently whisk the milk, yeast, and 1 tablespoon of honey. Cover the the measuring cup or bowl with plastic wrap and let it sit for about 7-10 minutes for the yeast to bloom.
- Add the bloomed yeast, 1 tablespoon honey, beaten egg, cut butter, salt, and 1 cup of flour to the stand mixer bowl. Attach the dough hook and turn the mixer on low. Beat for about 1 minute. Scrape down the sides of the bowl.
- Add the remaining flour and beat on medium for about 2 minutes or until the dough starts to pull away from the sides. If the dough is too wet, add a tablespoon of flour at a time.
- Reduce the speed to 2 or low and let the machine knead the dough for 5 minutes.
- Coat a large bowl with olive oil. Transfer the dough to the bowl and turn to coat it with the oil. Cover the bowl with plastic wrap and let the dough rise to double in size. This can take 1-2 hours.
- Punch the dough down. Transfer the dough to a lightly floured surface and, using a bench scraper or a large sharp knife, cut the dough into 15 sections. Using your hands, pull the edges of the dough up and turn it over seam-side down. Use the floured surface and your hands to gently roll it into a ball.
- As you roll them, put the rolls in a 9×13 inch greased dish and cover them with plastic wrap. Let rise for about an hour.
- Brush with melted butter and bake at 350 degrees for 20-25 minutes or until golden brown. If desired, brush again with butter.
Notes
- When yeast blooms, it creates a creamy foam as it releases carbon dioxide. You can also smell the yeast. If it does not foam up, the yeast is not good, and you need a fresh packet.
- When mixing the dough, if it is too wet to pull away from the sides of the bowl, add 1 level tablespoon of flour at a time until it starts to pull away.
- Punching the dough down means to gently deflate the dough.
- With some practice, you can learn to portion and roll perfectly shaped dinner rolls.
- Don’t rush the rise of the dough. Put it on the counter out of direct sunlight.
- You can brush rolls with butter before or after baking.



Jupiter Hadley
I love a good, fluffy dinner roll! Thank you for sharing your easy to follow recipe.
Beth Pierce
My pleasure!
karen
These dinner rolls are delicious…The entire family can’t get enough of them lol..I might need to bake a few dozens…Thank you so much for the amazing recipe.
Beth Pierce
My pleasure, Karen!
Lavanda Michelle
I can’t wait to try making these for our next family gathering, they sound perfect alongside our favorite dishes.
Beth Pierce
Thanks, Lavanda Michelle! Enjoy!
Harley
What a delicious dinner rolls recipe! Absolutely loved them. This is a keeper. Thanks for sharing the recipe.
Beth Pierce
My pleasure, Harley!
Jen
These dinner rolls are delicious! I could eat my weight in these. I am going to make these for Thanksgiving!
Sophia
These dinner rolls were absolutely delicious! They were so soft and fluffy. We served them with your chicken a la king and it was fabulous! Next time I am going to try them with your beef tips and gravy!
Beth Pierce
Thanks, Sophia! I am glad that you liked them!
Katalina
These dinner rolls were soft, fluffy, and absolutely delicious! The dough was easy to work with, and they came out golden brown with a perfect texture inside. Brushed with a little melted butter on top, they were a hit with everyone at the table. Perfect for any meal!
Beth Pierce
Thanks, Katalina! So happy that you like the rolls.
Claudette
I made this with our steak dinner last night, and they were amazing. We loved them almost more than the steak!
Beth Pierce
Thank you, Claudette!
Allyson
These were so tasty! I’m saving this recipe for Thanksgiving!
Stephanie
There isn’t much better than the smell of fresh baked dinner rolls – except eating them of course! These are delicious. Loved the addition of the honey.
Beth Pierce
Thanks, Stephanie! I am so glad that you like them.
Kayla
These dinner rolls look perfect for the holidays! I appreciate the tip about using a mix of all-purpose and bread flour for a fluffier texture.
Karletta
My guests are impressed with these. Homemade bread on the table is always a winner. These are simple to make and delicious too.
Beth Pierce
Thanks, Karletta! I am so happy that you and your guests liked them!
Camila
These dinner rolls turned out so soft and fluffy! They were the perfect addition to our family dinner, and the buttery tops were irresistible.
Beth Pierce
Thanks, Camila! I am so happy that you liked them!
Krystle
These will definitely be my go-to rolls for every holiday dinner from now on. Thank you for sharing this foolproof recipe!
Beth Pierce
The pleasure is all mine!
Benjamin
These rolls are so good. There’s nothing better than a good homemade roll, and these really hit the spot.
Maureen
You can’t go wrong with dinner rolls! In my opinion, they are perfect any time of day. Perhaps I am just biased because I love bread but they pair with so many other different dishes. Mmmm I am salivating just thinking about them. Add a little cinnamon butter – yes please!
Beth Pierce
Thanks, Maureen! Enjoy! They are delicious!