With just four simple ingredients and no kneading required, this no knead bread recipe is perfect for beginner bakers or anyone looking for an easy and delicious homemade bread recipe. Enjoy this delicious homemade crusty bread with just a few easy steps.
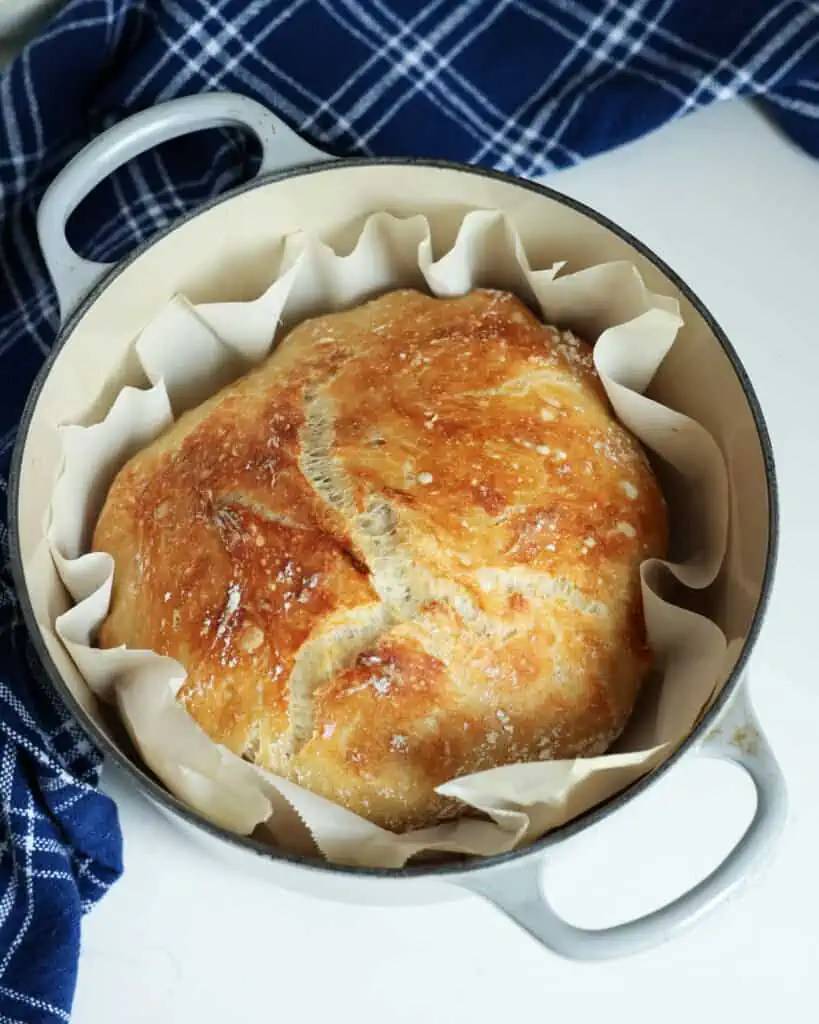
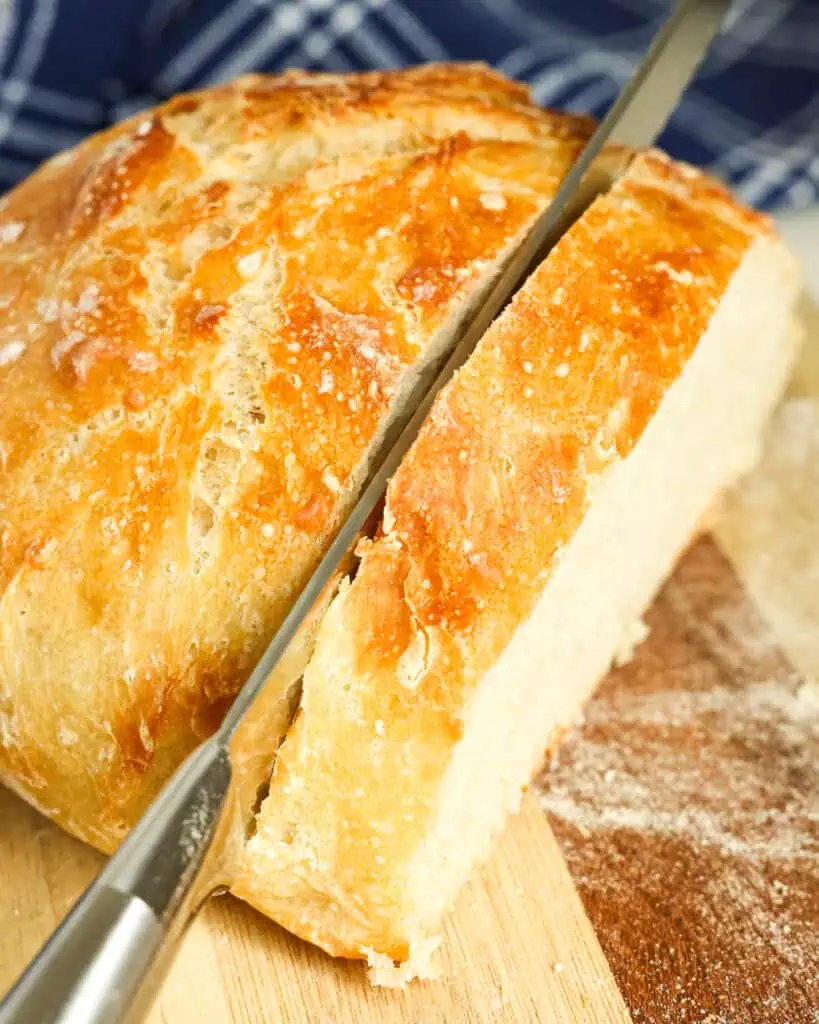
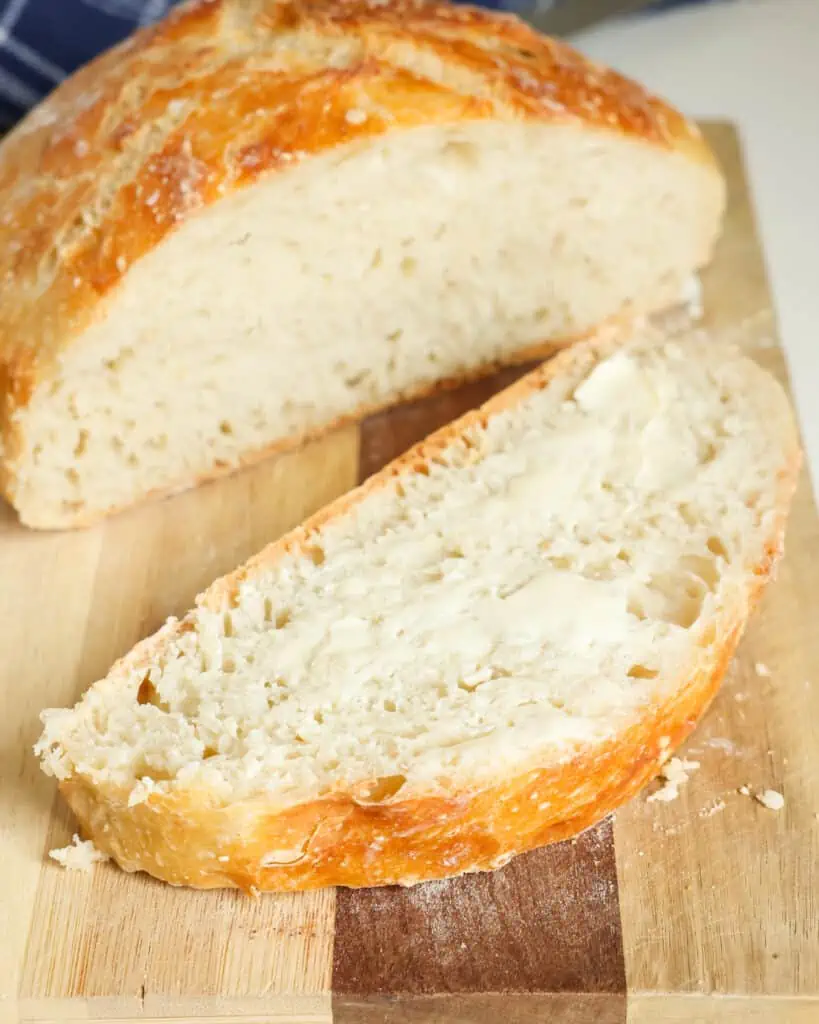
I love this homemade bread. It is crusty on the outside and soft and chewy on the inside. It is the definition of both great bread and great joy! Every time I bake it, I can hardly wait for it to cool down enough to cut a big chunk off and slather it with sweet, creamy butter. It is just that good.
I could go on and on, but then you wouldn’t have the time to mix this up. It does take a little advanced preparation as it needs to sit covered at room temperature for 12-18 hours, but believe me, it is well worth it. Just the smell alone will send your head reeling. I love to serve this Dutch Oven No-Knead Bread with beef tips and gravy, meatballs and gravy, slow cooker pot roast, and beef noodle soup.
Ingredient Notes and Substitutions
See the complete list of ingredients below on the recipe card.
- Bread flour: You can substitute all-purpose flour or a mixture of both.
- Yeast: active dry yeast, instant yeast, or rapid-rise yeast. Learn more about yeast here!
- Warm water: To bloom yeast, the water temperature must be as close as possible to 110-115 degrees. Use a digital food thermometer to ensure accuracy.
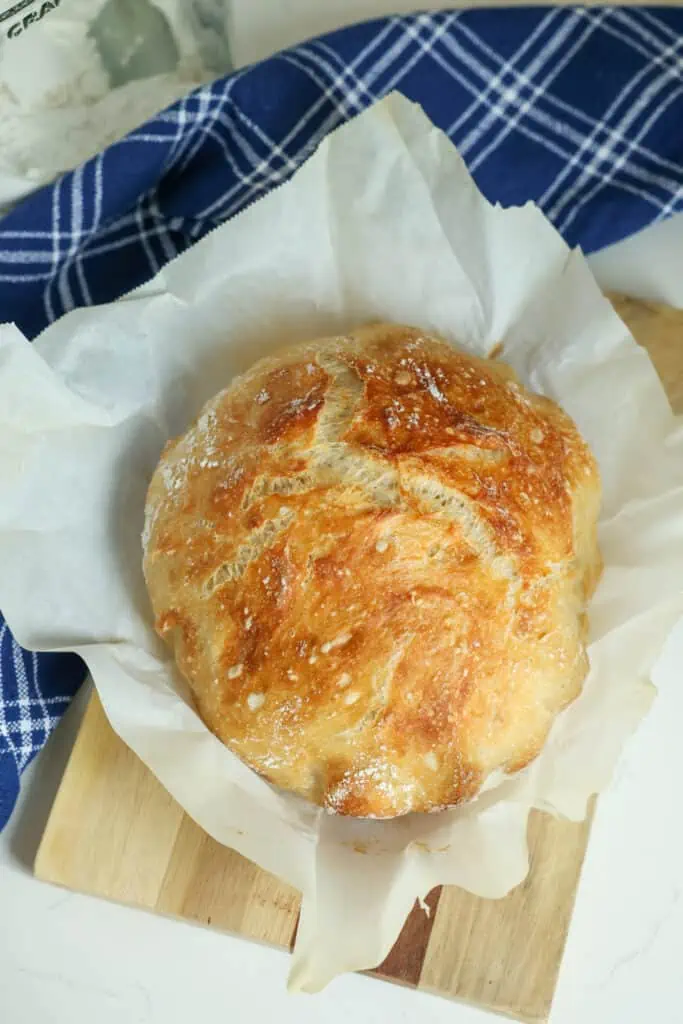
How to make No Knead Bread
Whisk together the flour, yeast, and sea salt in a large bowl. Slowly pour in the warm water while stirring with a wooden spoon. Keep stirring until well combined. It is a sticky, loose dough. Cover the bowl tightly with plastic wrap and set it on the counter to rise for 12-18 hours.
Work the dough out of the bowl onto a well-floured parchment paper. Sprinkle a little flour onto the top of the dough to make it easier to work with. Shape the dough into a rough ball using the parchment paper overhang to help. It does not need to be perfect. Remember, do not knead this dough. Cover the dough with plastic wrap, a lightly moistened tea towel, or an upside-down glass bowl, and let it rise for about an hour.
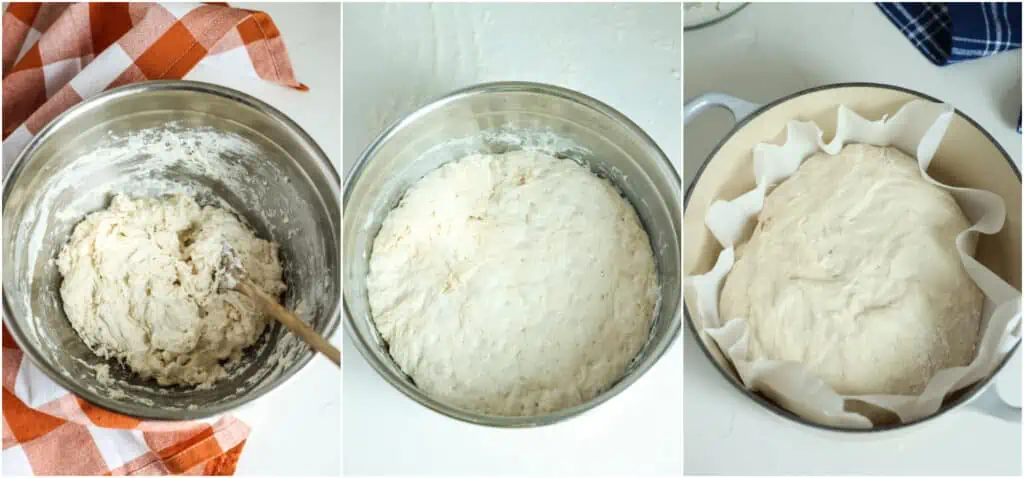
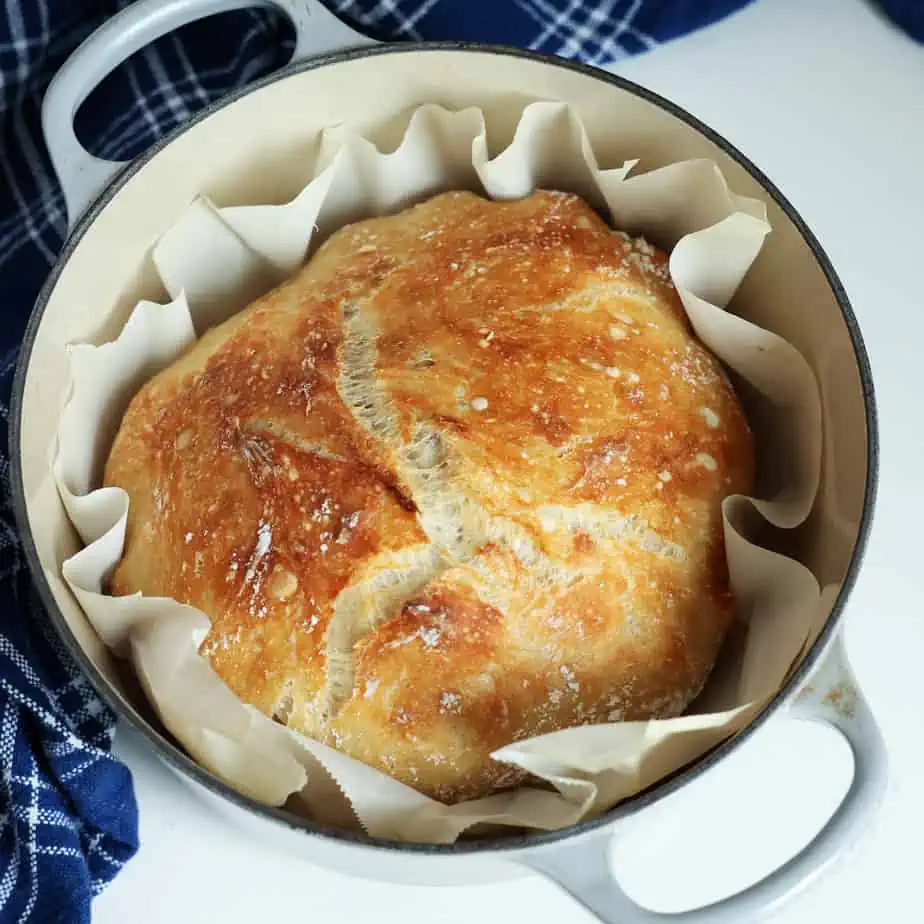
Meanwhile, place a large Dutch oven (3 1/2 quart) with the lid on into the oven. Preheat the oven to 450 degrees. When the dough is ready for baking, carefully remove the pot from the oven. Remember everything, including the lid, will be very hot. Remove the lid, and place the dough into the pot using the parchment paper. Cover it and put the pot back in the oven. Bake covered for 30 minutes.
Remove the lid and continue baking for 10-15 minutes or until golden brown. Carefully remove the bread from the Dutch oven using the parchment paper overhang and put it on a cooling rack. For best results, let the loaf cool before slicing.
Preparation Tips
- This bread needs 12-18 hours to rise, so plan accordingly. The long rise time is needed to develop the gluten. You can slow down the rise by placing it in the fridge if needed. It takes dough ten times longer to rise in the refrigerator than at room temperature.
- You do not have to do the second one-hour rise on this dough, but it will make it a lighter and airier loaf.
- I love my Dutch ovens. They are fantastic for baking bread, braising meats, and cooking soup and stews. Check out this inexpensive yet highly-rated Dutch oven from Amazon.
- Use the parchment paper overhang to help shape the dough, move it into the Dutch oven for baking, and remove it from the Dutch oven when it is hot.
- Please do not get too hung up on shaping this loaf, as it is a loose dough. Use the parchment paper to shape it and put it in the Dutch oven. A 3 1/2 quart Dutch oven will help it hold its shape.
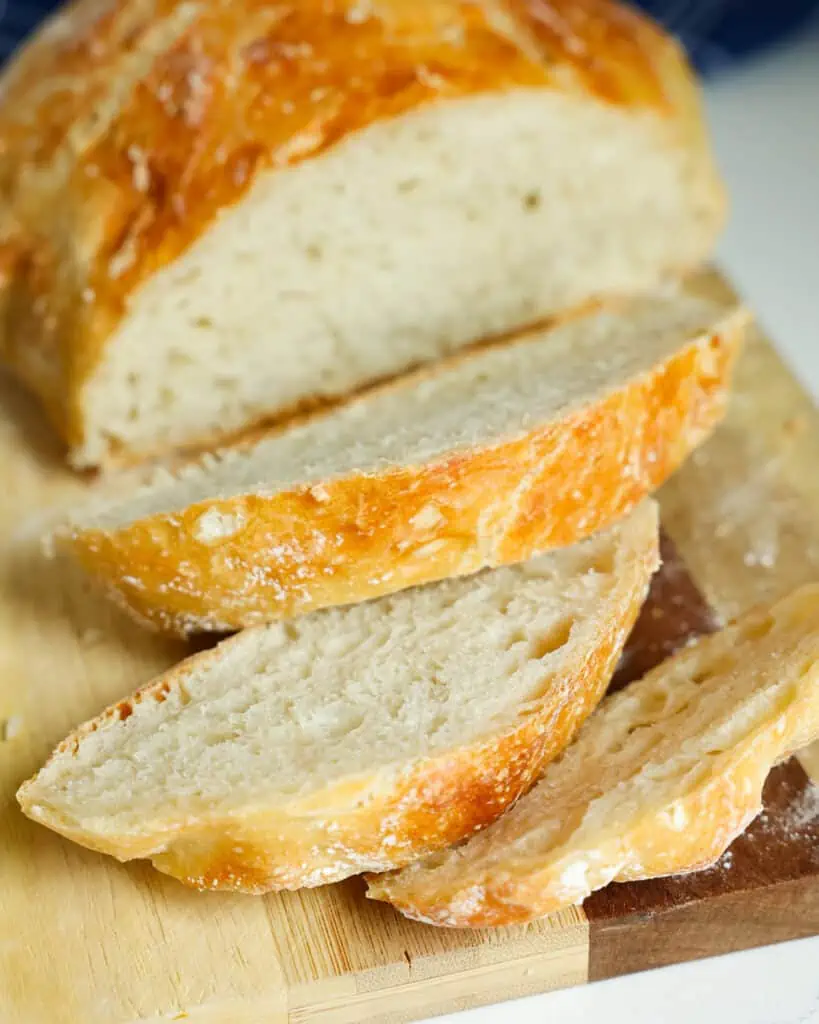
- Let the bread cool for at least 1 hour before slicing. Warm bread is very tempting, but your bread will taste better if you can wait.
Recipe Variations
- Fresh Herbs: stir in chopped fresh thyme, rosemary, or dill into the dough before rising. Or try dried oregano and dried marjoram.
- Seeds: stir in small amounts of pumpkin seeds, sunflower seeds, flax seeds, sesame seeds, and chia seeds into the dough before rising.
- Vegetables: work sauteed minced garlic or chopped caramelized onions into the risen dough. Let the dough rise again for 1-2 hours.
- Cheese: mix 1/2 cup grated Parmesan or Asiago cheese into the risen dough. Let the dough rise again for 1-2 hours.
Storage
Store the fully-cooled bread in a zipper bag at room temperature for 2-3 days. Squeeze as much air out of the bag as possible. If vegetables or cheese have been added, store them in the fridge after 48 hours.
To freeze, cool completely, then store double-wrapped in zipper freezer bags with as much air removed as possible. Freeze for up to 2 months. Thaw on the counter overnight.
Frequently Asked Questions
This recipe is quite forgiving. I have gone slightly longer than 24 hours, and the dough still produced a nice loaf of bread. Remember, you can slow it down by placing the covered bowl in the refrigerator.
Don’t add anything. Just stir until combined. Then, cover the bowl with plastic wrap and let it rise. This is a loose, sticky dough.
Use any oven-proof lidded pot. Make sure it is rated for at least 450 degrees. Or use an oven-proof pot covered with a heavy baking sheet.
No-knead breads rely on heavy hydration and long fermentation times. You would have a big mess if you tried to knead this bread.
Try These Next
No Knead Bread
Ingredients
- 3 cups bread flour or all purpose flour
- ½ teaspoon instant yeast
- 1½ teaspoons sea salt
- 1½ cups warm water 110 degrees
Instructions
- In a large bowl, whisk together the flour, yeast, and sea salt. Slowly pour in the warm water while stirring with a wooden spoon. Keep stirring until well combined. It is a sticky, loose dough. Cover the bowl tightly with plastic wrap and set it out on the counter to rise for 12-18 hours.
- Work the dough out of the bowl onto a well-floured large piece of parchment paper. Sprinkle a little flour onto the top of the dough to make it easier to work with. Shape the dough into a rough ball using the parchment paper overhang to help. It does not need to be perfect. Remember, do not knead this dough.
- Cover the dough with plastic wrap, a lightly moistened tea towel, or an upside-down glass bowl, and let it rise for 1 hour.
- Meanwhile, place a large Dutch oven (3 1/2 quart) with the lid on, into the oven. Preheat the oven to 450 degrees.
- When the dough is ready, carefully remove the Dutch oven from the oven. Remember everything, including the lid, will be very hot. Remove the lid, and using the parchment paper, place the dough into the pot. Cover it and place it back in the oven. Bake covered for 30 minutes.
- Remove the lid and continue baking for 10-15 minutes or until golden brown. Carefully remove the bread from the Dutch oven to a cooling rack using the parchment paper overhang.
- For best results, let the loaf cool for 1-2 hours before slicing.
Notes
- This bread needs 12-18 hours to rise, so plan accordingly. If needed, you can slow down the rise by placing it in the fridge. It takes dough ten times longer to rise in the refrigerator than at room temperature.
- You do not have to do the second rise on this dough, but it will make it a little lighter and airier loaf
- I love my Dutch ovens. They are great for baking bread, braising meats, and cooking soup and stews. Check out this inexpensive yet highly-rated Dutch oven from Amazon.
- Use the parchment paper overhang to help shape the dough, move it into the Dutch oven for baking, and remove it from the Dutch oven when it is hot.
- Do not get too hung up on shaping this loaf, as it is a loose dough. Use the parchment paper to shape it and put it in the Dutch oven. A 3 1/2 quart Dutch oven will help it hold its shape.
- Let the bread cool for at least 1 hour before slicing. Warm bread is very tempting, but your bread will taste better if you can wait.
Nutrition
Are you on the hunt for more delicious recipes? Follow Small Town Woman on Facebook, Pinterest, and Instagram.
https://www.smalltownwoman.com/wp-content/uploads/2019/05/Beth-1.pdf





Joyce
I would really like to try this recipe, but unfortunately do not have a dutch oven. What can I use instead?
Beth Pierce
Use any oven-proof lidded pot. Make sure it is rated for at least 450 degrees. Or use an oven-proof pot covered with a heavy baking sheet.
Chris
Can this be made with a GF flour substitute?
Beth Pierce
I am not sure. Maybe the readers will know. I do not work with GF flour.
Marcia
Can you divide it and bake in a 2qt Dutch oven?
Beth Pierce
I am sure you can. I am just unsure of the baking time.
Frances Armstrong
Great recipe. Nothing like good homemade bread and so easy.
Beth Pierce
Thank you, Frances!
Tabitha Peters
I love this no-knead bread recipe! So easy and delicious to have a fresh loaf, especially during soup season! It was perfect in everyway!
Beth Pierce
Thanks, Tabitha! I am glad that you liked it!
Tanya Kingman
Beth Pierce’s no knead bread recipe is a game-changer for beginner bakers and seasoned pros alike. With just four simple ingredients and no kneading required, this recipe delivers a homemade crusty bread that’s a delight to both the palate and the senses. We served it with her Dutch oven pot roast and the meal was outstanding.
Beth Pierce
Thanks, Tanya! So glad that you liked it.
Paulette
This was amazing, Beth! I love how easy it was to prepare. You are right it baked up perfect. Crusty on the outside and soft and airy on the inside. I love the fresh smell of baked bread. There is nothing better!
Beth Pierce
I agree 100%
Michelle Love
I can already imagine the aroma of freshly baked bread filling my kitchen. I can’t wait to give it a try and enjoy a slice with some butter!
Judy Corbin
I have made this bread twice and found it very difficult to get out of my Dutch oven. It sticks to the pan. Also it is difficult to cut. I love the taste. My dog loves it too.
Beth Pierce
Do you use parchment paper? A serrated knife works very well. Glad that your dog likes it!
Maria
Any chance you can sub Active Dry Yeast? If so, does it change the process at all?
Beth Pierce
Dissolve active dry yeast in the water first then immediately add the flour and salt and mix. Proceed with recipe as written.
Linda
This bread is so good and easy. I have added cheese, Jalapeno and cheese, little sugar cinnamon and crasins, My boys like it all ways..but prefer it plain. They call it dessert, because it is just that good?
Beth Pierce
It really is delicious!
Jina Kapka
You say you can slow down the rise by placing in the refrigerator, but can you speed it up? Maybe I’m asking too much!😂😂 Thanks!
Beth Pierce
There is really no great way to speed it up without changing the bread.
Erren
It is so good! I love homemade crusty bread. There is just nothing as good as that and now I can have it anytime if I plan ahead.
Beth Pierce
Thanks, Erren! I love it too!
Sandi
This bread is just perfect with anything! I loved how it turned out and everyone in my family enjoyed it!
Beth Pierce
Thanks, Sandi! We love it too!
Mandy Cook
I recommend this recipe to anybody that is looking to make their own bread, it is perfect! It is crusty on the outside and soft on the inside. We love it!
Beth Pierce
We love it too!
Gemma
This is one of our FAVORITE family recipes – and one of the most requested at gatherings.
Beth Pierce
Thanks, Gemma!