These classic Peanut Butter Blossom Cookies are among my most popular Christmas cookies. These delectable cuties are slightly chewy, packed with extra peanut butter flavor, and topped with a dark chocolate kiss.
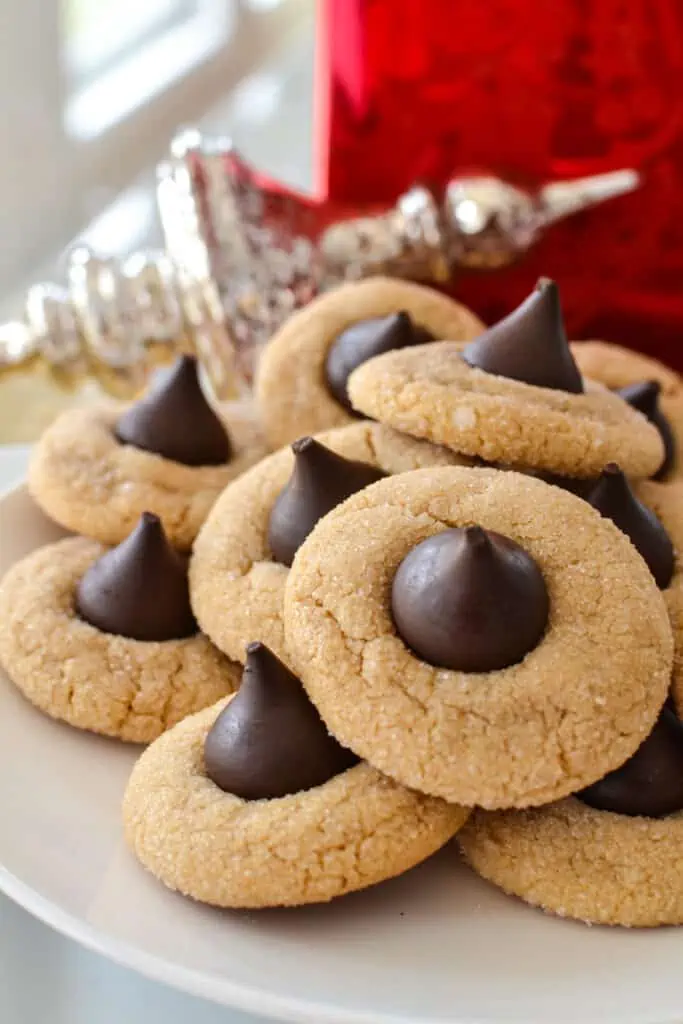
Have you started planning your Christmas cookie trays? If not, you had better hurry. Christmas is just a few weeks away. These scrumptious peanut butter cookies are a must-make for all my cookie-loving friends and neighbors. They are easy, quick to come together, and the ultimate loved classic Christmas cookie.
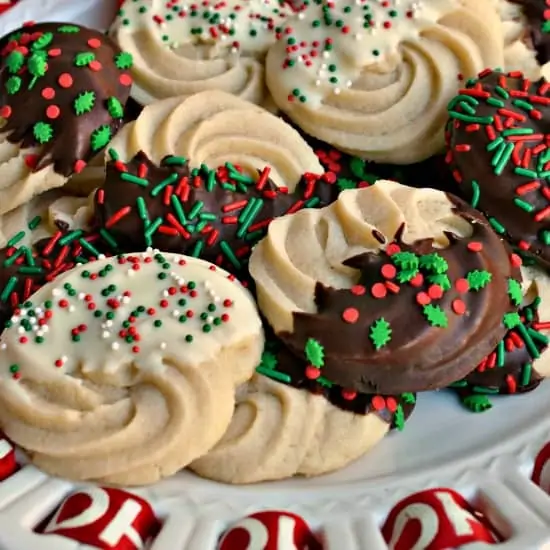
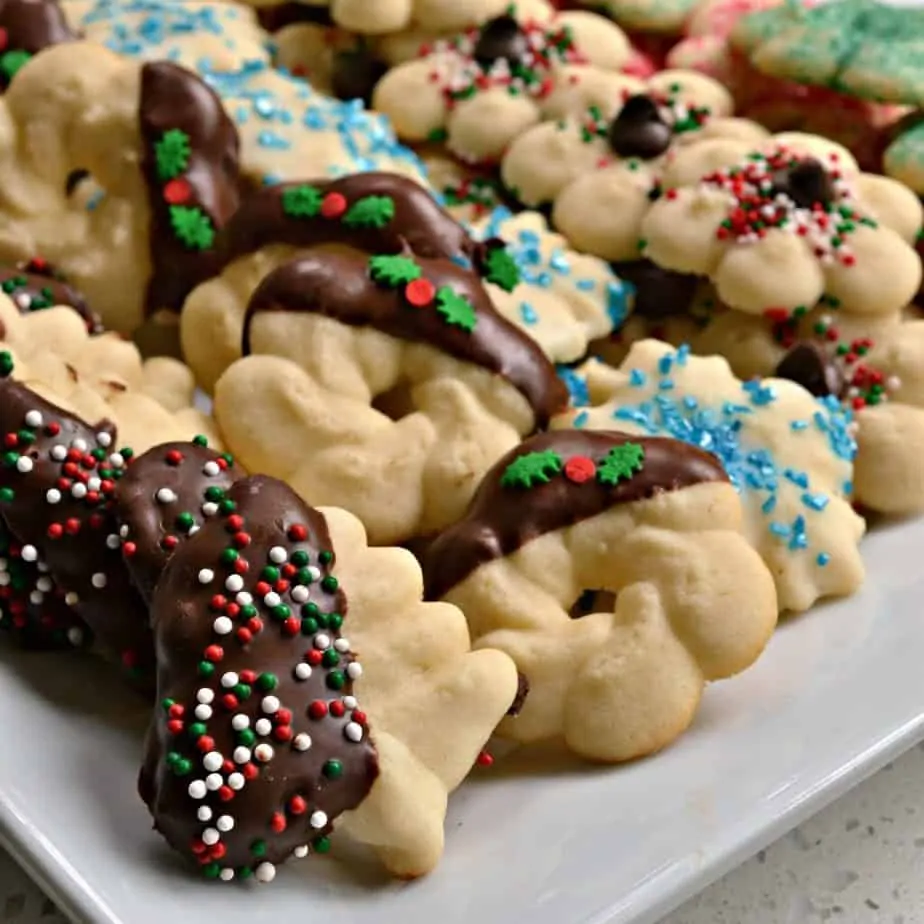
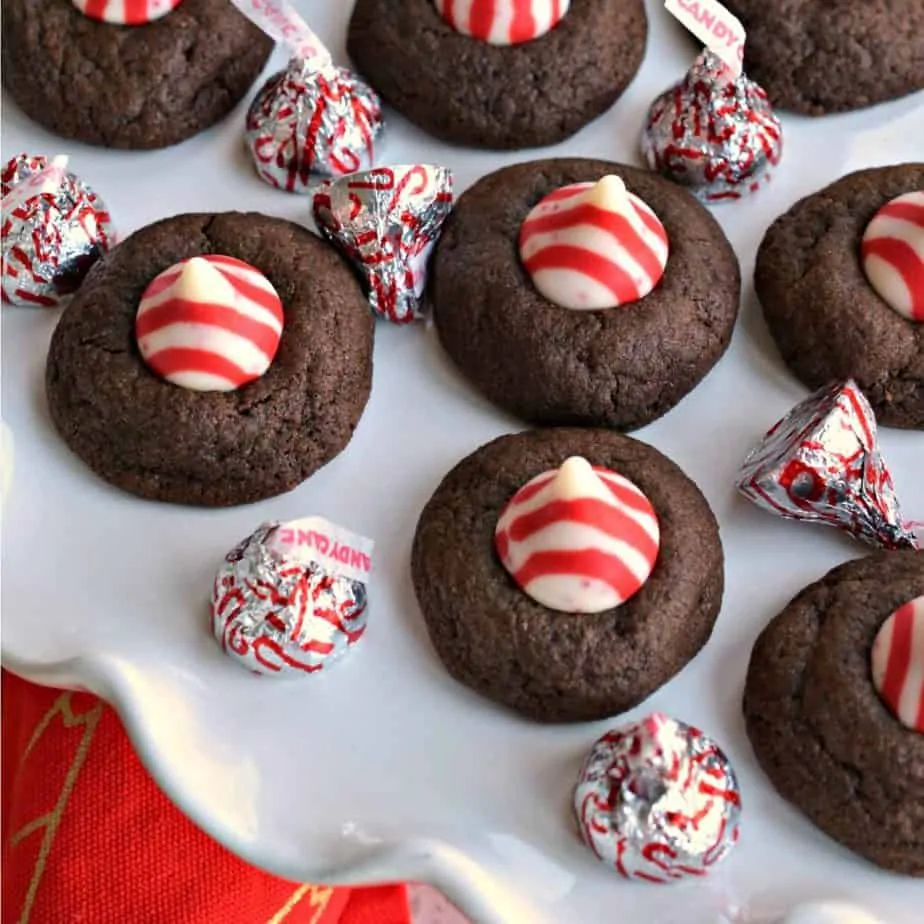
These cookies—my pecan snowballs, spritz cookies, and peppermint chocolate thumbprints—make an awesome presentation for your holiday cookie trays.
Ingredient Notes and Substitutions
- Butter: unsalted. If using salted butter, eliminate the added salt.
- Sugar: I like a mixture of granulated and brown sugar.
- Peanut butter: use creamy peanut butter, not the all-natural that can separate.
- Vanilla extract: the pure stuff, please
- Chocolate kisses: you can substitute different flavored kisses, such as dark chocolate, white chocolate, milk chocolate, or mini peanut butter cups.
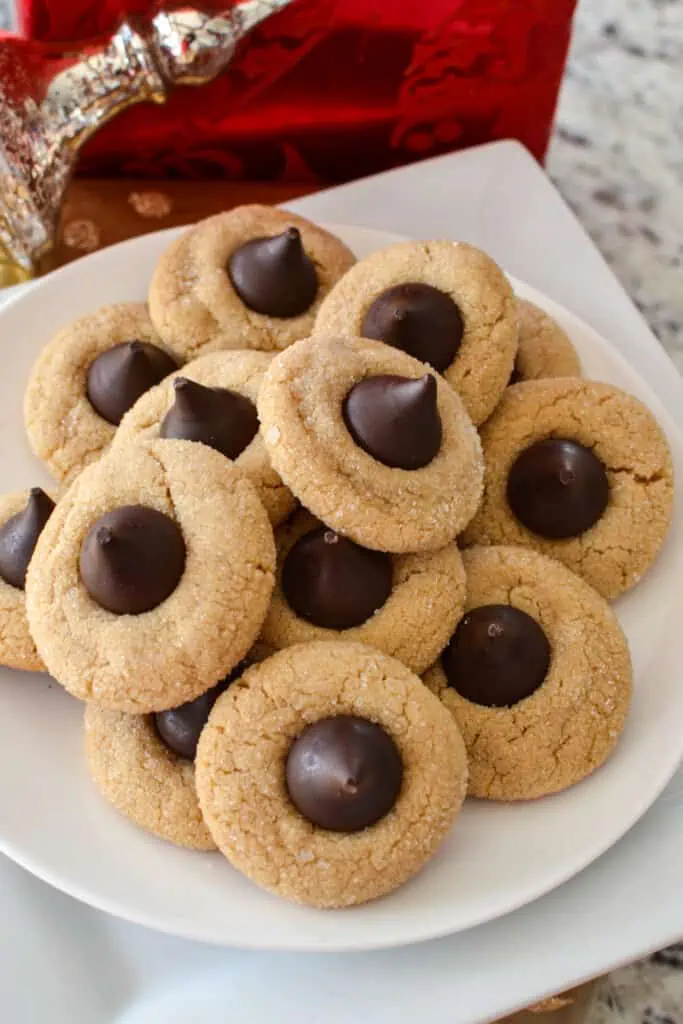
How to make Peanut Butter Blossoms
First, combine the flour, baking soda, baking powder, and salt in a medium bowl. Then, using a stand mixer with a paddle attachment or an electric hand mixer on medium speed, cream the butter, sugars, and peanut butter until light and fluffy.
Add the egg and the vanilla to the butter mixture and mix just until incorporated. Reduce the speed to low and add the dry ingredients to the wet ingredients in several increments, mixing until combined. Scrape down the bowl and beaters as needed.
Then, refrigerate the cookie dough for a couple of hours. Roll the dough into about one-inch balls. Roll the balls in granulated sugar and place the dough balls on cookie sheets lined with silicone mats or parchment paper.
Bake until very lightly browned. When you remove the cookies from the oven, top them with a chilled kiss. I usually pause for about one minute, then gently press it into the center of the cookie ever so slightly. Let the cookies fully cool on a wire rack before stacking in layers as the chocolates are soft for a little while.
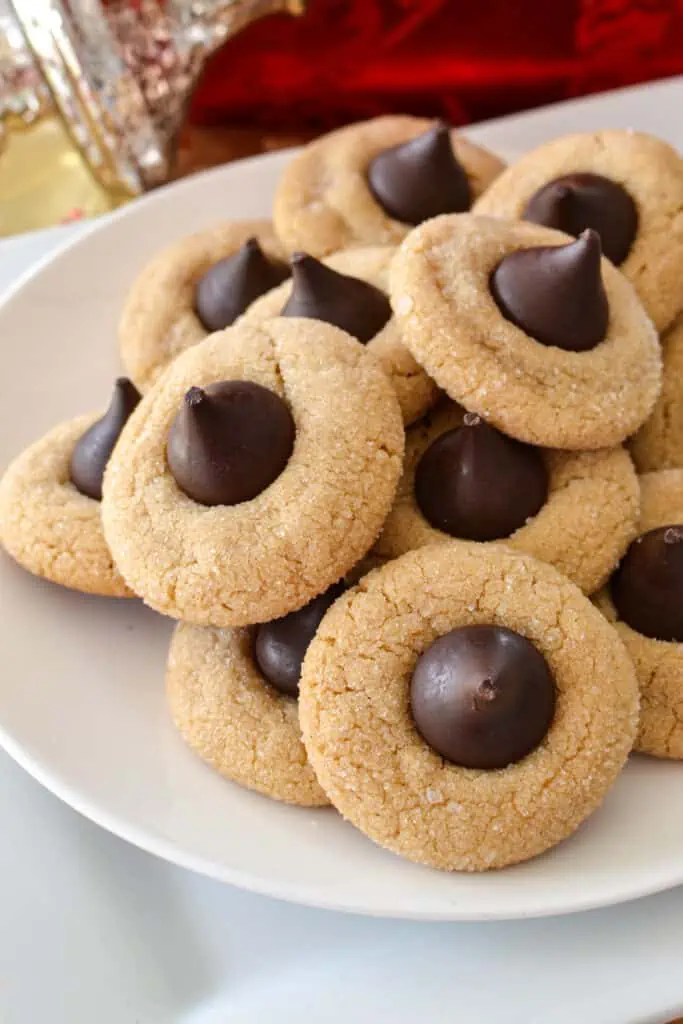
Preparation Tips
- Before you start your cookies, place the Hershey Kisses in the freezer. This helps them keep their original shape when placed on the hot cookies.
- Plan, as this dough must be refrigerated for a couple of hours.
- Place the cookie on the sheet about two inches apart. They don’t rise or spread a lot, but the hot oven air needs to flow between the cookies.
- If you have time, do a test run with one or two cookies. This will help establish the baking time.
- Unwrap your chocolate kisses right before your cookies are done. That way, you will be ready to go. I pause for about one minute before I put the chocolates on to prevent them from melting. I am usually unwrapping the last few kisses.
- These cookies must cool completely before being stacked because the chocolate kiss is soft. It will harden again, but it can take several hours.
Storage
Freeze these cookies for four to six weeks. Because of the chocolate, I don’t like to go much longer than that. Simply double-wrap in freezer bags and place in a sturdy container. The dough can be double-wrapped and frozen for two months.
Store baked cookies in an airtight container for up to one week.
More Cookie Recipes
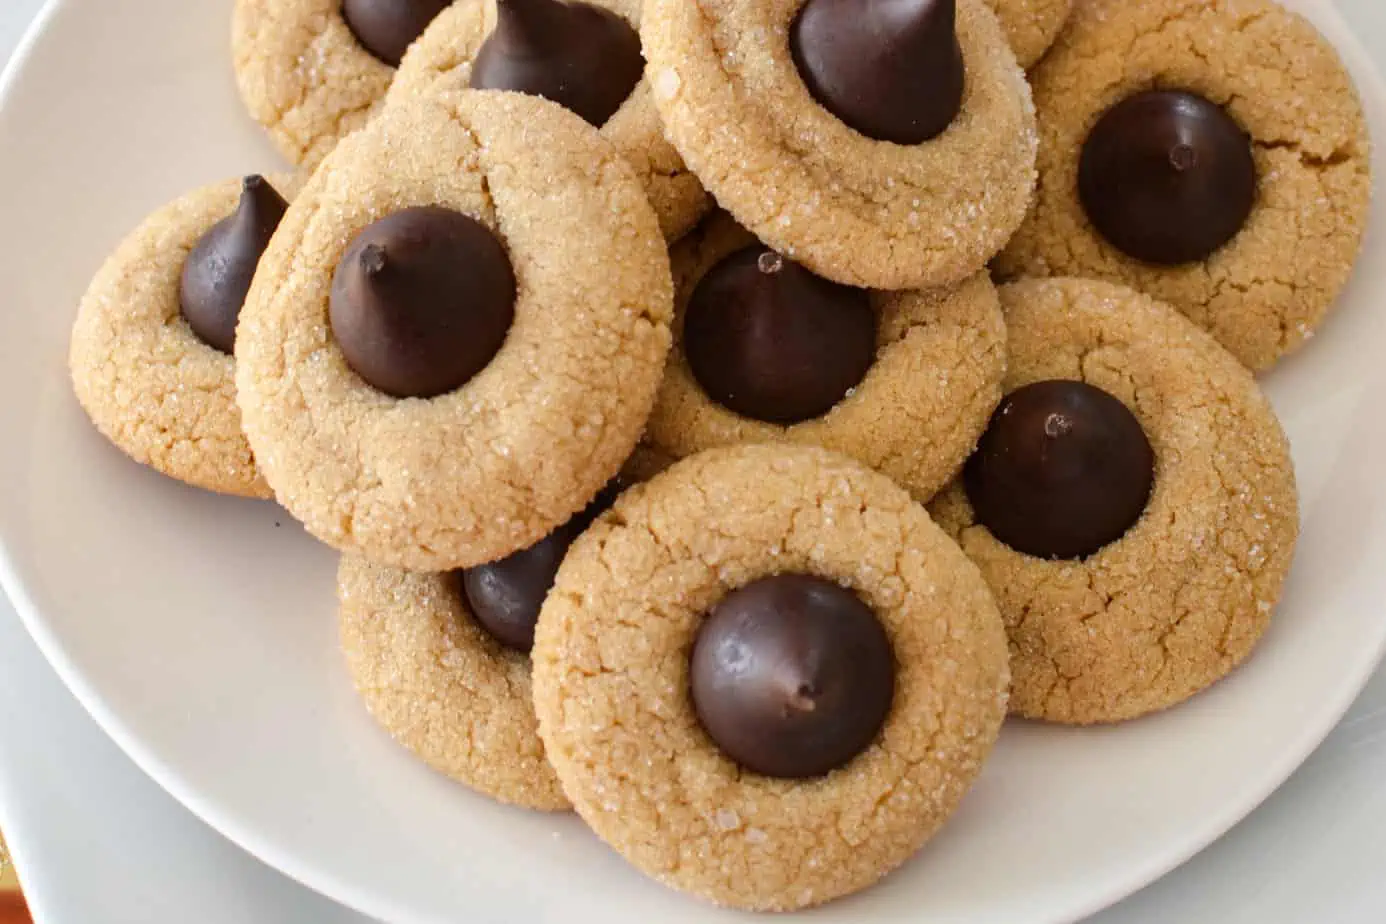
Peanut Butter Blossoms
Ingredients
- 1 ½ cups all purpose flour
- 1 teaspoon baking soda
- ¼ teaspoon baking powder
- ¼ teaspoon salt
- ½ cup butter softened 1 stick
- ½ cup sugar
- ½ cup brown sugar
- ⅔ cup creamy peanut butter
- 1 egg room temperature
- 1 teaspoon vanilla extract
- ¼ cup sugar
- 36 chocolate kiss candies
Instructions
- Place your wrapped chocolate kisses in the freezer. Preheat oven to 350 degrees. Cover baking sheets with silicone mats or parchment paper.
- In a medium bowl, combine your flour, baking soda, baking powder, and salt.
- Using a stand mixer with a paddle attachment or an electric hand mixer on medium speed, cream the butter, sugars, and peanut butter until light and fluffy. Add the egg and the vanilla to the butter mixture and mix just until incorporated. Reduce the speed to low and add the dry ingredients to the wet ingredients in several increments, mixing until combined. Scrape down the bowl and beaters as needed.
- Cover and refrigerate the dough for 2 hours. Place 1/4 cup sugar in a small bowl. Roll the dough into 3/4 to 1-inch balls. Roll the dough balls in the granulated sugar and place on the baking sheet about 2 inches apart. Bake for 8-10 minutes or until very lightly browned. Unwrap the chocolate kisses while the cookies are baking.
- Remove the cookies from the oven. After 1 minute, place 1 unwrapped chocolate kiss in the center of each cookie, pressing down gently and ever so slightly. Remove cookies to a cookie cooling rack and allow to fully cool. Store in an airtight container for up to a week.
Notes
- Before you start your cookies, place the Hershey Kisses in the freezer. This helps them keep their original shape when placed on the hot cookies.
- Plan, as this dough must be refrigerated for a couple of hours.
- Place the cookie on the sheet about two inches apart. They don’t rise or spread a lot, but the hot oven air needs to flow between the cookies.
- If you have time, do a test run with one or two cookies. This will help establish the baking time.
- Unwrap your chocolate kisses right before your cookies are done. That way, you will be ready to go. I pause for about one minute before I put the chocolates on to prevent them from melting. I am usually unwrapping the last few kisses.
- These cookies must cool completely before being stacked because the chocolate kiss is soft. It will harden again, but it can take several hours.
Nutrition
On the hunt for more delicious recipes? Follow Small Town Woman on Facebook, Pinterest, and Instagram.
https://www.smalltownwoman.com/wp-content/uploads/2019/05/Beth-1.pdf





Yolanda
This is such a delicious cookie recipe. I love the way they look too, they are really flavorful and easy to make.
Laura
Thanks for this recipe! Just pinned for later. These are some of my favs and I’ve never actually made them. Will be enjoying this year!!
Beth Pierce
Thanks, Laura! Enjoy!